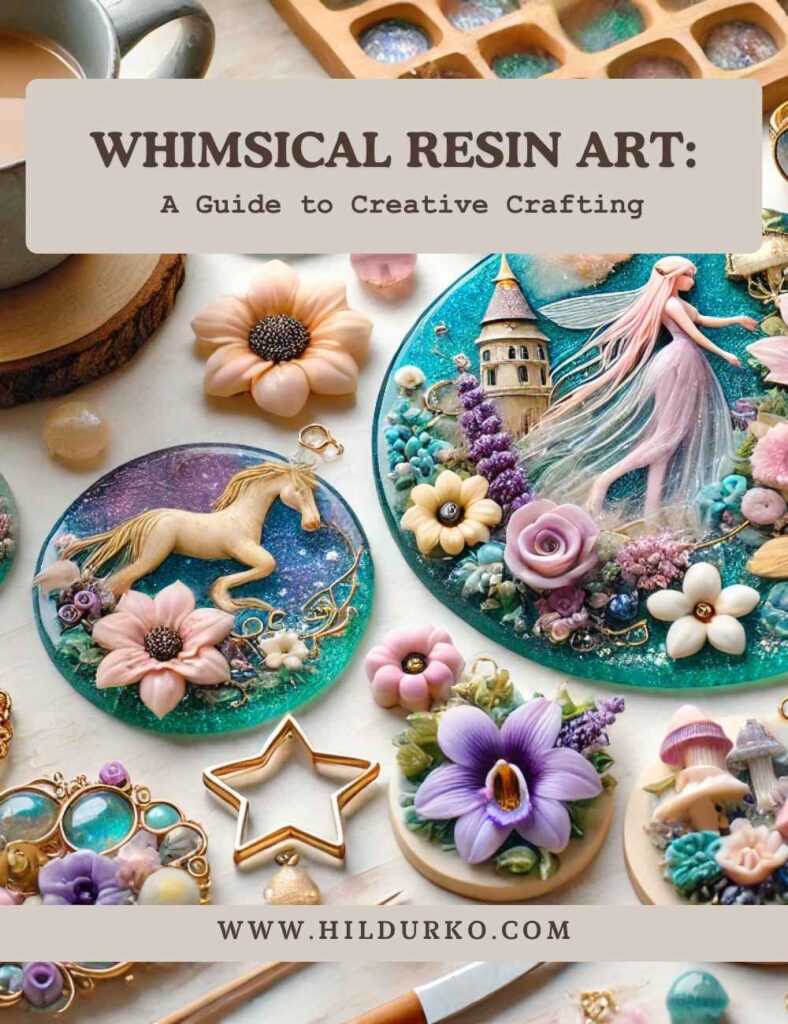
Whimsical Resin Art: A Guide to Creative Crafting
Resin art has exploded in popularity over recent years, thanks to its versatility and the stunning, glossy creations it produces. Among the many styles of resin art, whimsical resin art stands out for its playful, imaginative designs. Whether you’re looking to create enchanting jewelry, quirky home decor, or eye-catching artwork, whimsical resin art offers endless possibilities. In this blog post, we’ll explore what whimsical resin art is, the materials you need, basic techniques, and some inspiring project ideas to get you started.
What is Whimsical Resin Art?
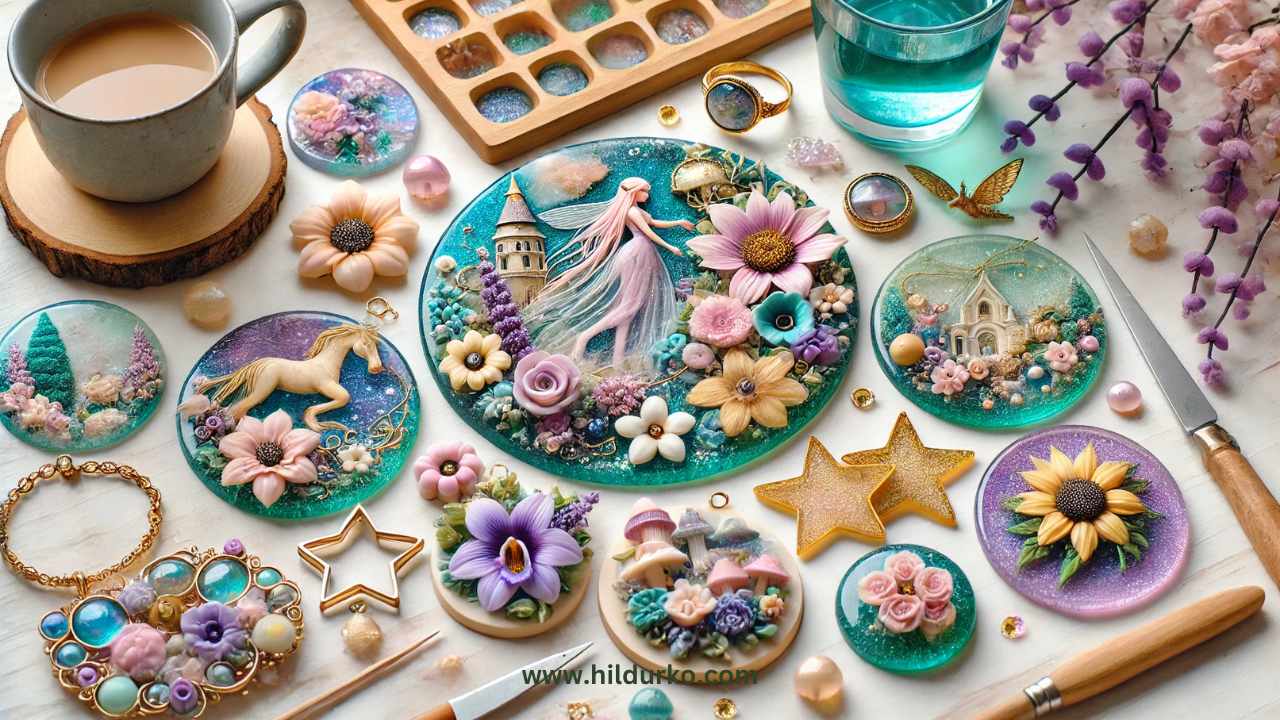
Whimsical resin art is characterized by its fun, imaginative, and often fantastical elements. It incorporates a variety of colors, textures, and objects to create pieces that are both beautiful and playful. Common themes in whimsical resin art include fantasy creatures, vibrant colors, and unexpected combinations of materials. This style is perfect for those who enjoy letting their creativity run wild and want to make pieces that bring joy and wonder.
Materials Needed
To create whimsical resin art, you’ll need a few essential materials:
- Epoxy Resin: This is the primary material used in resin art. It consists of two parts—a resin and a hardener—that are mixed together to create a durable, glass-like finish.
- Molds: Silicone molds come in various shapes and sizes, perfect for creating jewelry, coasters, ornaments, and more.
- Pigments and Dyes: These are used to add color to your resin. You can find a wide range of colors and finishes, including metallic and glow-in-the-dark options.
- Additives: Glitter, mica powder, dried flowers, beads, and other small objects can be embedded in resin to add texture and interest.
- Mixing Tools: Disposable cups, stirring sticks, and pipettes are essential for mixing and pouring resin.
- Protective Gear: Gloves, a respirator mask, and a well-ventilated workspace are important for safety when working with resin.
Getting Started: Basic Techniques
1. Preparing Your Workspace:
- Ensure your workspace is clean, dry, and well-ventilated. Cover your work surface with a plastic sheet or disposable tablecloth to protect it from spills.
2. Mixing Resin:
- Follow the manufacturer’s instructions to mix the resin and hardener in the correct ratio. Stir slowly and thoroughly to avoid creating bubbles.
3. Adding Color and Additives:
- Once the resin is mixed, divide it into smaller cups if you’re using multiple colors. Add your pigments, dyes, and any other additives, stirring gently until well combined.
4. Pouring Resin:
- Pour the colored resin into your molds, layering different colors and adding objects as you go. Use a toothpick or a heat gun to pop any bubbles that rise to the surface.
5. Curing:
- Allow the resin to cure according to the manufacturer’s instructions. This typically takes 24-48 hours. Make sure your pieces are in a dust-free environment during this time.
Project Ideas
1. Fantasy Jewelry:
- Create necklaces, earrings, and bracelets featuring tiny unicorns, fairies, or other magical creatures. Use pastel colors and lots of glitter for a truly whimsical effect.
2. Magical Coasters:
- Make a set of resin coasters with embedded flowers, leaves, or even miniature scenes. Add glow-in-the-dark pigments for an extra touch of magic.
3. Enchanted Ornaments:
- Design holiday ornaments with whimsical themes, such as candy-colored snowflakes or glittering stars. These make great gifts and festive decorations.
4. Storybook Wall Art:
- Create a resin art piece inspired by your favorite fairy tale or story. Use layers of resin to build depth and include elements like miniature books, characters, and scenes.
5. Quirky Home Decor:
- Make resin trays, bowls, or picture frames with bold colors and fun patterns. Mix and match different textures and materials for a unique look.
Tips for Success
Plan Your Design:
- Before you start pouring resin, sketch out your design or arrange your materials to ensure everything fits and looks cohesive.
Work in Layers:
- For more complex designs, work in layers, allowing each layer to cure before adding the next. This technique can add depth and dimension to your pieces.
Experiment:
- Don’t be afraid to try new things. Mix different pigments, add unexpected objects, and play with textures to discover what works best for you.
Safety First:
- Always work in a well-ventilated area and wear protective gear. Resin can produce fumes and cause skin irritation, so it’s important to take precautions.
Conclusion
Whimsical resin art is a delightful and versatile craft that allows for endless creativity. With a few basic materials and techniques, you can create stunning pieces that are sure to bring a smile to anyone’s face. Whether you’re making jewelry, home decor, or artwork, let your imagination run wild and enjoy the process of bringing your whimsical visions to life. Happy crafting!
For more helpful tips, take a look at these lovely artists:
LIKE THIS POST?
Share the link on your social media
or pin the image below to your Pinterest board!