Punch Needle Embroidery: A Modern Twist on Traditional Embroidery
Punch needle embroidery is an increasingly popular craft that breathes new life into traditional embroidery techniques. This method involves using a punch needle to create textured, looped designs on fabric, making it perfect for creating rugs, wall art, and various decorative items. Let’s dive into the essentials of punch needle embroidery, its materials, basic techniques, and some inspiring project ideas.
What is Punch Needle Embroidery?
Punch needle embroidery is a form of embroidery that uses a hollow needle to punch loops of thread or yarn through fabric. Unlike traditional embroidery, which typically involves stitching, punch needle creates a series of continuous loops, resulting in a raised, textured surface. This technique is versatile and can be used to make a wide range of items, from small patches to large rugs.
Materials Needed
To start with punch needle embroidery, you will need the following materials:
- Punch Needle: The primary tool for this craft, available in various sizes to accommodate different thread or yarn thicknesses. A common choice for beginners is the adjustable punch needle, which allows for different loop lengths.
- Embroidery Hoop or Frame: This holds your fabric taut while you work. For larger projects, a frame may be more suitable.
- Fabric: A sturdy, woven fabric like monk’s cloth, linen, or burlap works best as it can withstand the repeated punching.
- Yarn or Thread: Depending on the needle size, you can use embroidery floss, yarn, or other types of thread. Thicker yarns are typically used for larger, more textured designs.
- Scissors: For trimming excess yarn and neatening up your work.
- Pattern: Beginners might find it helpful to start with a pre-printed pattern or stencil.
Getting Started: Basic Techniques
Preparing Your Fabric:
- Stretch your chosen fabric tightly over an embroidery hoop or frame. This ensures that the fabric remains taut and stable while you work.
Threading the Needle:
- Thread your punch needle according to the manufacturer’s instructions. Generally, you will insert the thread through the hollow needle and pull it through until a few inches remain.
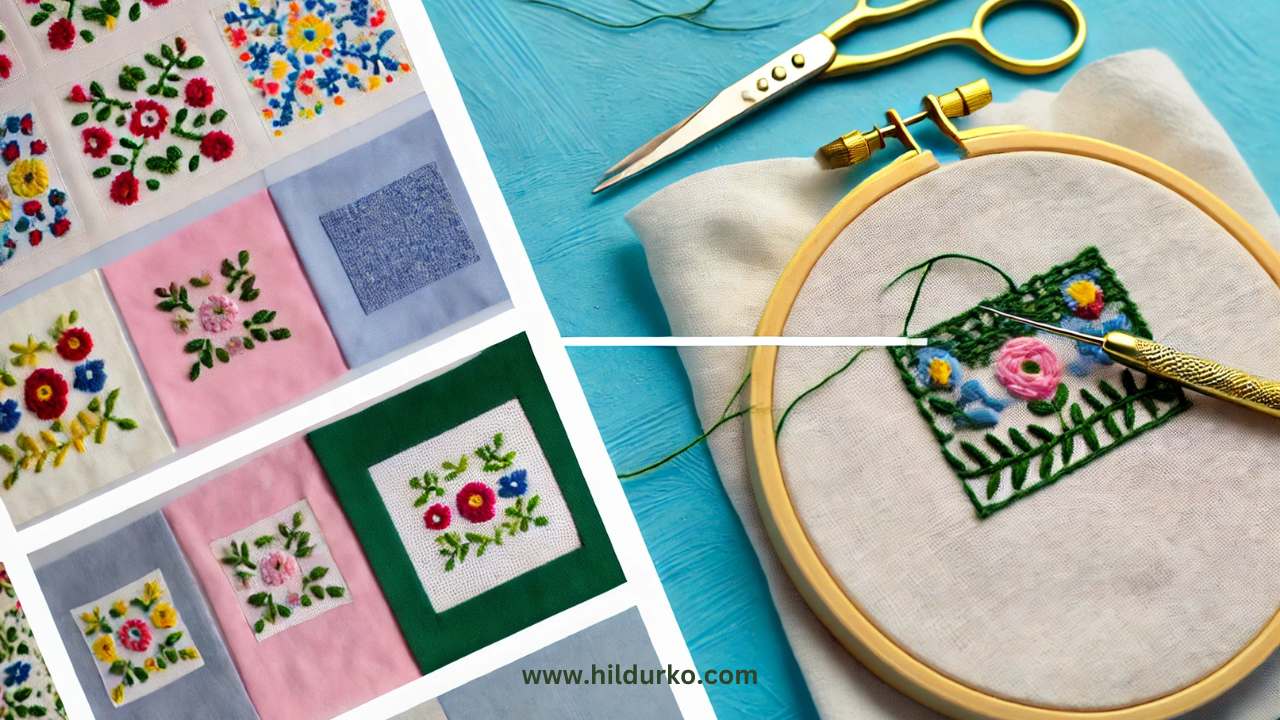
Punching the Fabric:
- Hold the punch needle like a pen, with the bevel facing the direction you are punching. Push the needle through the fabric until it stops, then pull it back up, leaving a loop of thread on the underside.
- Move the needle slightly forward and repeat, maintaining consistent spacing to create even loops.
Filling in the Design:
- Follow your pattern, filling in sections with your chosen colors and textures. You can create different effects by varying the loop height and yarn thickness.
Project Ideas
1. Wall Art:
- Create stunning wall hangings with geometric patterns, floral designs, or abstract art. Use a variety of yarn colors and textures to add depth and interest to your pieces.
2. Rugs:
- Punch needle is ideal for making small to medium-sized rugs. Choose a sturdy fabric and thicker yarn to ensure durability. You can create intricate designs or simple, bold patterns to suit your decor.
3. Decorative Pillows:
- Add a personal touch to your home decor with custom punch needle pillows. Design a cover that complements your interior style, from boho-chic to modern minimalism.
4. Tote Bags:
- Embellish plain tote bags with unique punch needle designs. This is a practical project that also makes for a great gift.
5. Patches:
- Small punch needle patches can be attached to clothing, bags, or other accessories. Create monograms, symbols, or small artworks that reflect your personality.
Tips for Success
Practice Consistency:
- The key to a polished punch needle piece is consistent loop height and spacing. Practice on a scrap piece of fabric to get comfortable with the motion and technique.
Use Quality Materials:
- Invest in good quality fabric and yarn to ensure your projects look professional and last longer.
Experiment with Textures:
- Don’t be afraid to mix different types of yarn and thread to create unique textures. This can add a dynamic and tactile element to your work.
Secure Your Work:
- Once your project is complete, secure the loops by applying a fabric glue to the back. This prevents the loops from pulling out and keeps your design intact.
Conclusion
Punch needle embroidery is a gratifying and versatile craft that offers endless creative possibilities. Its modern twist on traditional embroidery techniques makes it accessible for beginners while still allowing for complex and intricate designs. Whether you’re looking to make functional items like rugs and pillows or decorative pieces like wall art and patches, punch needle embroidery provides a wonderful outlet for your creativity. So, gather your materials, find a comfortable spot, and start punching your way to beautiful, textured art!
For more helpful tips, take a look at these lovely artists:
LIKE THIS POST?
Share the link on your social media
or pin the image below to your Pinterest board!