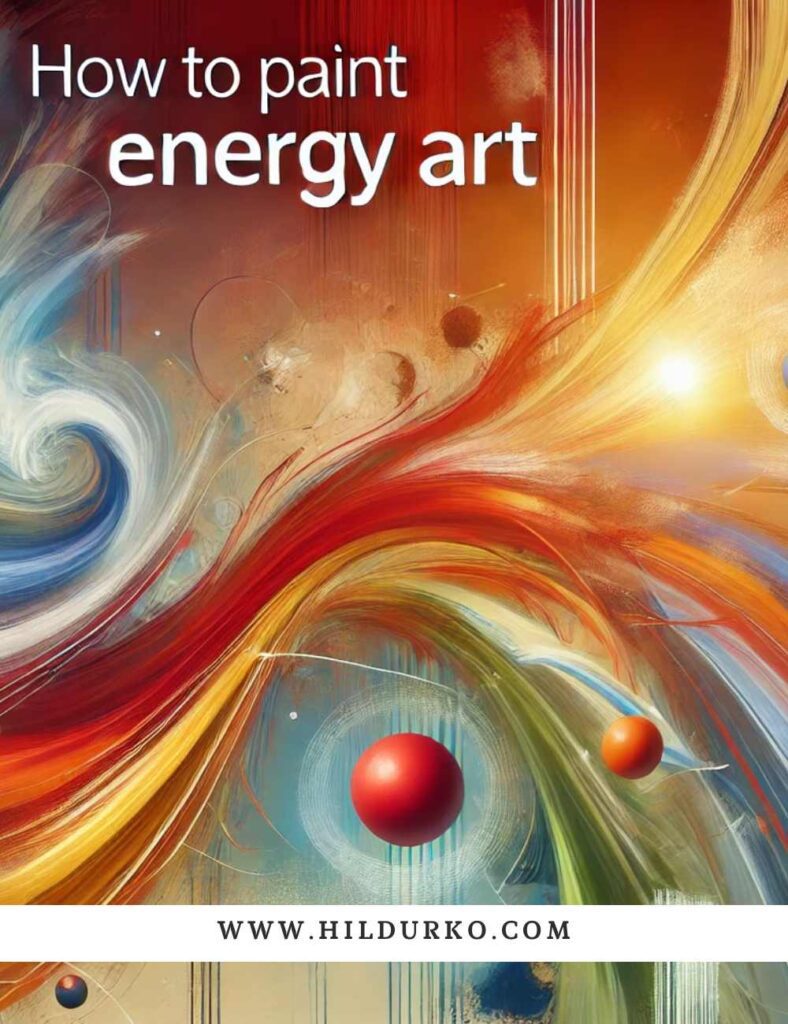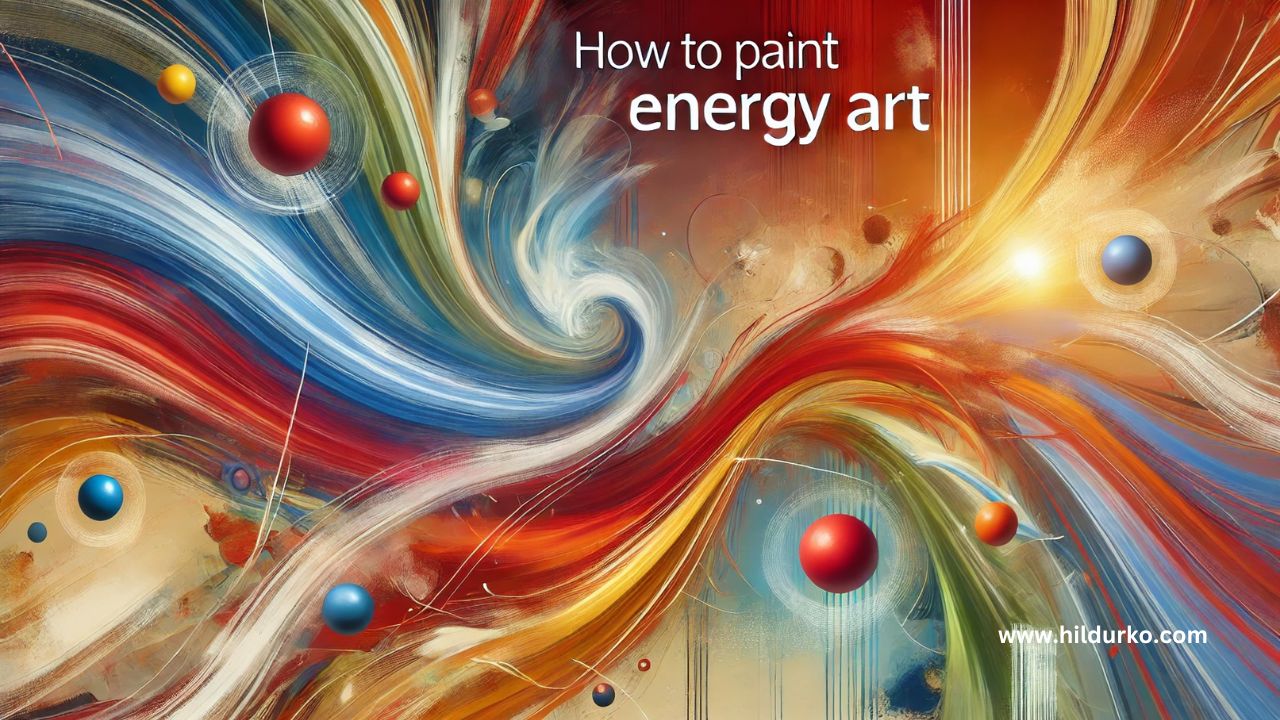
Energy Art
Energy art is a captivating and expressive form of art that channels the artist’s inner emotions and the unseen forces that permeate our world. Unlike traditional art forms that rely on realism and precision, energy art is about capturing the essence, movement, and vitality of a subject. Whether you’re an experienced artist or a beginner looking to explore a new medium, painting energy art can be a liberating and deeply personal experience. In this blog post, we’ll explore the steps and techniques to help you create your own energy art masterpiece.
Understanding Energy Art
Before diving into the practical steps, it’s essential to grasp the concept of energy art. This art form focuses on the invisible energies that surround us—emotional, spiritual, and physical vibrations. It’s about translating these energies onto the canvas through dynamic lines, vibrant colors, and fluid movements. The goal is to evoke a sense of movement and emotion, allowing the viewer to feel the energy that inspired the piece.
Materials You’ll Need
To begin your journey into energy art, gather the following materials:
- Canvas or Paper: Choose a size that you’re comfortable working with. Larger canvases can be more liberating for expansive energy work.
- Acrylic or Oil Paints: These mediums are ideal due to their versatility and vibrant colors.
- Brushes: A variety of brushes, including wide, flat brushes and fine detail brushes.
- Palette Knives: For creating texture and bold strokes.
- Spray Bottles: Filled with water or diluted paint for creating fluid effects.
- Sponges and Rags: Useful for blending and creating texture.
- Music: An optional but highly recommended tool to help you get into the right mental state. Choose music that resonates with the energy you want to capture.
Step-by-Step Guide to Painting Energy Art
Set the Mood
- Find a quiet and comfortable space where you won’t be interrupted. Dim the lights if it helps you relax.
- Play some music that inspires you. The rhythm and mood of the music can influence your brushstrokes and color choices.
Prepare Your Canvas
- Place your canvas on an easel or flat surface. If you’re using paper, tape it down to prevent it from moving.
- Prime the canvas with a thin layer of gesso if you’re using a raw canvas. This helps the paint adhere better and provides a smooth surface to work on.
Choose Your Color Palette
- Think about the emotions or energy you want to convey. Warm colors like reds, oranges, and yellows can evoke passion and excitement, while cool colors like blues and greens can convey calmness and tranquility.
- Don’t be afraid to experiment with bold and contrasting colors. Energy art is about expression, not realism.
Start with a Base Layer
- Use a large brush or sponge to apply a base layer of color. This doesn’t need to be precise; it’s just to get rid of the blank canvas and start building layers of energy.
- Consider using a spray bottle to create interesting, fluid backgrounds.
Add Movement and Flow
- With a medium-sized brush, start adding sweeping strokes and curves. Think about the flow of energy—how it moves and interacts.
- Don’t worry about perfection. The goal is to capture the movement and fluidity of the energy you’re representing.
Incorporate Textures and Layers
- Use palette knives to add thick layers of paint. Scrape and blend colors directly on the canvas to create texture.
- Sponges and rags can be used to blend and soften areas, adding depth and complexity to your piece.
Highlight the Energy
- Add finer details with small brushes. These can be lines, dots, or any patterns that represent the finer points of the energy you’re depicting.
- Consider using metallic or iridescent paints for highlights. These can catch the light and add an extra dimension to your artwork.
Take a Step Back
- Periodically step back and view your painting from a distance. This helps you see the overall composition and make adjustments as needed.
- Trust your intuition. Energy art is personal and subjective, so let your feelings guide your brush.
Finishing Touches
- Once you’re satisfied with your painting, let it dry completely. This may take a few days, especially if you’ve used thick layers of paint.
- Apply a varnish if desired to protect your artwork and enhance the colors.
Conclusion
Creating energy art is a powerful way to express your inner world and connect with the unseen forces around us. By following these steps and allowing yourself the freedom to explore and experiment, you can create a piece that is not only visually stunning but also emotionally resonant. Remember, the key to energy art is to let go of expectations and let your intuition guide you. Happy painting!
For more helpful tips, take a look at these artist.
For more from Gammatrap
LIKE THIS POST?
Share the link on your social media
or pin the image below to your Pinterest board!