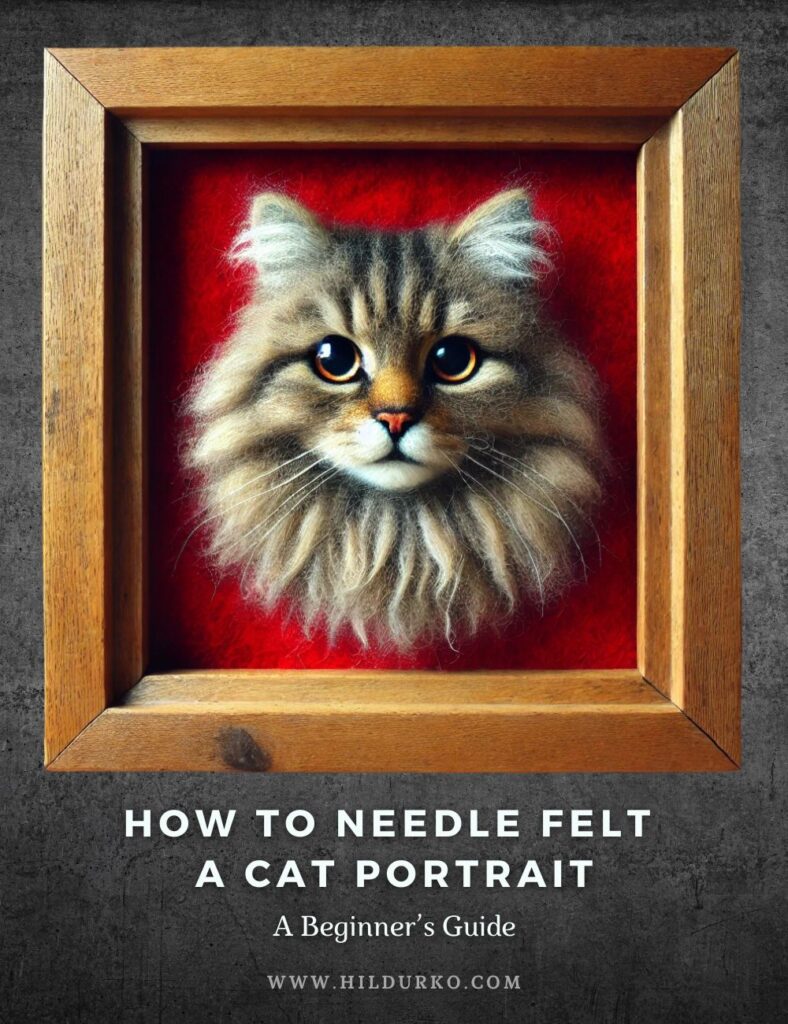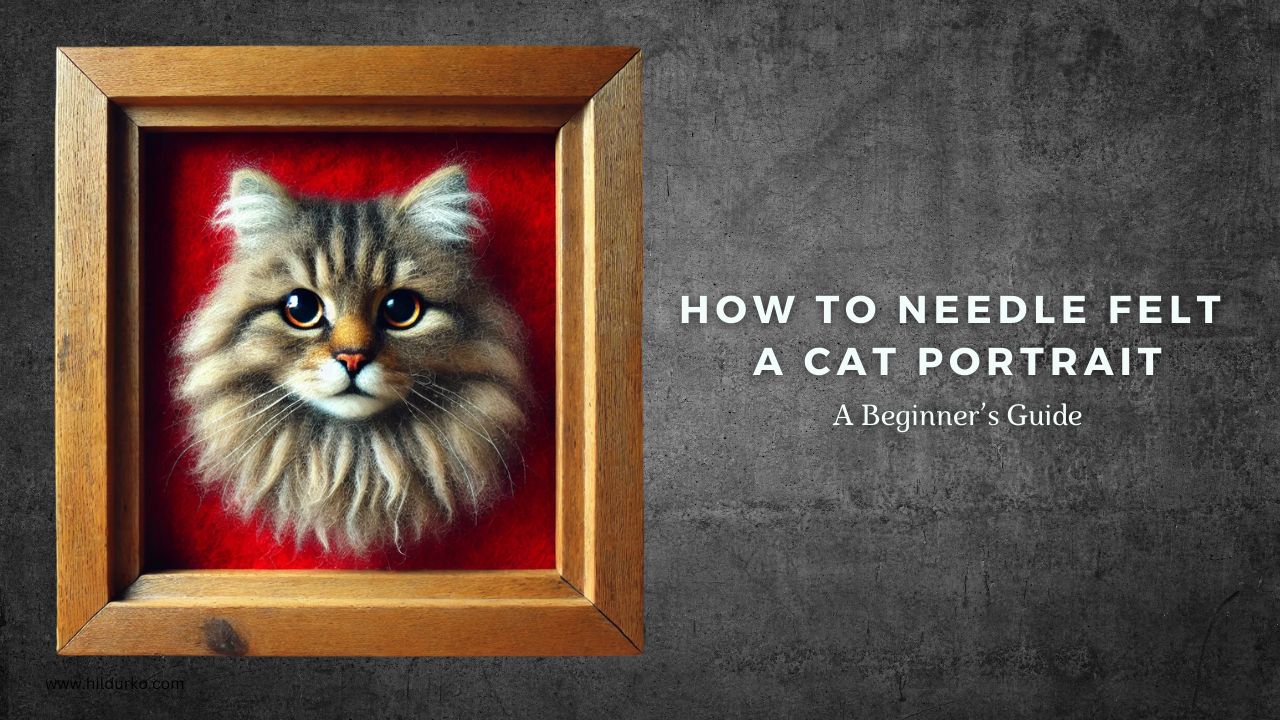
Needle felting is a mesmerizing art form where you use wool and a felting needle to create detailed, 3D shapes, and for pet lovers, felting a portrait of your beloved cat can be a truly rewarding project. This guide will walk you through the basic steps of creating a needle-felted cat portrait, focusing on the techniques that capture your pet’s unique personality and expression.
What You’ll Need
Before you get started, gather the following materials:
- Felting Needles: These specialized needles come with barbs that tangle the wool fibers together. For beginners, a medium-sized needle is ideal.
- Felting Wool: Start with core wool for the basic structure and then use finer, colored wool for the details. Wool in shades of grey, brown, black, and white are common for cats, but you can also blend colors to match your pet’s fur.
- Felting Mat: Protect your workspace and avoid breaking needles by using a foam mat or felting pad.
- Reference Photos: High-quality photos of your cat, especially showing the face from different angles, are essential to help you capture likeness.
- Glass Eyes or Beads: These can add realism to your portrait, or you can needle felt the eyes if you prefer a more stylized look.
Step 1: Create the Basic Shape
Start by sculpting the base shape of your cat’s head. Roll a piece of core wool into a tight ball and secure it by poking it with your needle. Continue felting the wool, shaping it into an oval or round form, depending on your cat’s facial structure. This step takes time, as you’ll want to firm up the wool enough that it holds its shape but still has some give for further detailing.
Next, begin shaping the nose, cheeks, and chin by adding smaller tufts of wool. Cats generally have rounded cheeks and a prominent muzzle, so pay attention to these features. Attach these smaller wool pieces by felting them into the base shape, refining the structure as you go.
Step 2: Build the Facial Features
Now that the base shape is done, start adding in the distinct features. Begin with the nose by rolling a small piece of pink or grey wool into a triangle. Secure this to the center of the face and use your needle to shape it into the soft, slightly pointed shape of a cat’s nose.
For the eyes, you have two options: you can either use tiny glass or plastic eyes, which add realism, or felt the eyes from wool. If felting them, use black wool for the pupils and lighter shades for the irises, leaving a tiny space for the glint of light. Place them slightly above the nose and shape the eyelids around them using the needle to create depth.
Add more detail to the cheeks and chin, carefully building up layers of wool to mimic the softness of fur. Keep checking your reference photos to ensure you’re matching the contours of your cat’s face.
Step 3: Shape the Ears
The ears are a defining feature of a cat’s face, and they can dramatically change the expression of your portrait. Shape two triangles from small amounts of core wool and then cover them with colored wool that matches your cat’s fur. You’ll want to make the ears relatively thin but firm enough to hold their shape.
Attach the ears to the top of the head by felting them in place. Pay attention to the placement: cat ears are typically slightly angled and positioned near the top corners of the face.
Step 4: Adding Fur Texture
The next step is to add the surface layer of colored wool, which will give your portrait the texture and realism of fur. Take thin strands of wool in your cat’s fur colors and gently felt them onto the face in layers. Start with a base color and then gradually add highlights or patches of different colors where necessary (e.g., tabby stripes or white patches).
Use a combination of short, fine pokes to secure the wool, and longer strokes to create the appearance of fur. If your cat has long fur, you can add extra wool to create a fluffier texture.
Step 5: Final Touches
As you near completion, take some time to refine the details. This might involve tweaking the shape of the nose, adding depth to the eyes, or softening the edges of the face. For added realism, you can lightly brush the wool with a soft toothbrush to tease out a fur-like texture.
Lastly, check your portrait against your reference photos to ensure the likeness is as accurate as possible. If needed, add a few more details like whiskers, which you can make by using thin pieces of wool or even fishing line.
Conclusion
Needle felting a cat portrait is an enjoyable and creative way to capture the essence of your pet. With patience and attention to detail, even beginners can create a heartfelt and unique piece of art.
Once you’ve mastered the basic techniques, you can experiment with different breeds, colors, and expressions to further hone your skills. Below, you’ll find some video tutorials from amazing artists who can guide you further in creating more realistic or stylized portraits.
Happy felting!
Check out these videos tutorials!
If you enjoy the videos mentioned in this post, we encourage you to visit the creators’ channels and give them a like. Your support helps them continue to produce high-quality content and share their creative ideas with the community. By liking and subscribing to their channels, you not only show your appreciation but also stay updated with their latest projects and tips.
Happy Crafting!
LIKE THIS POST?
Share the link on your social media