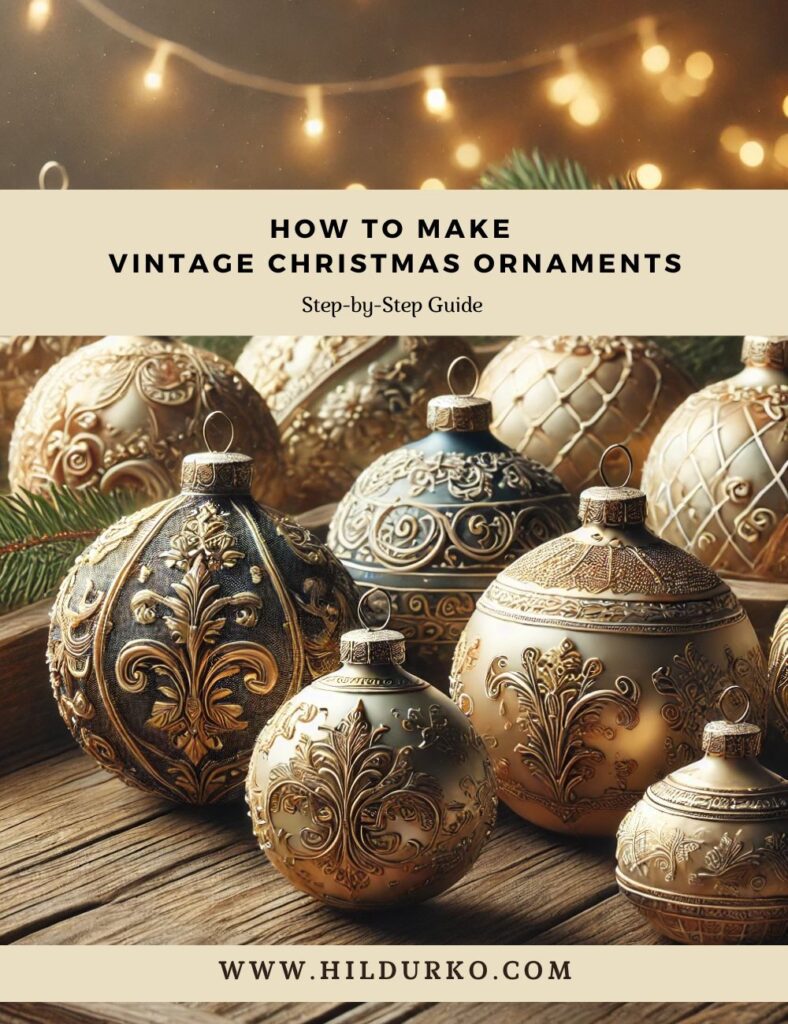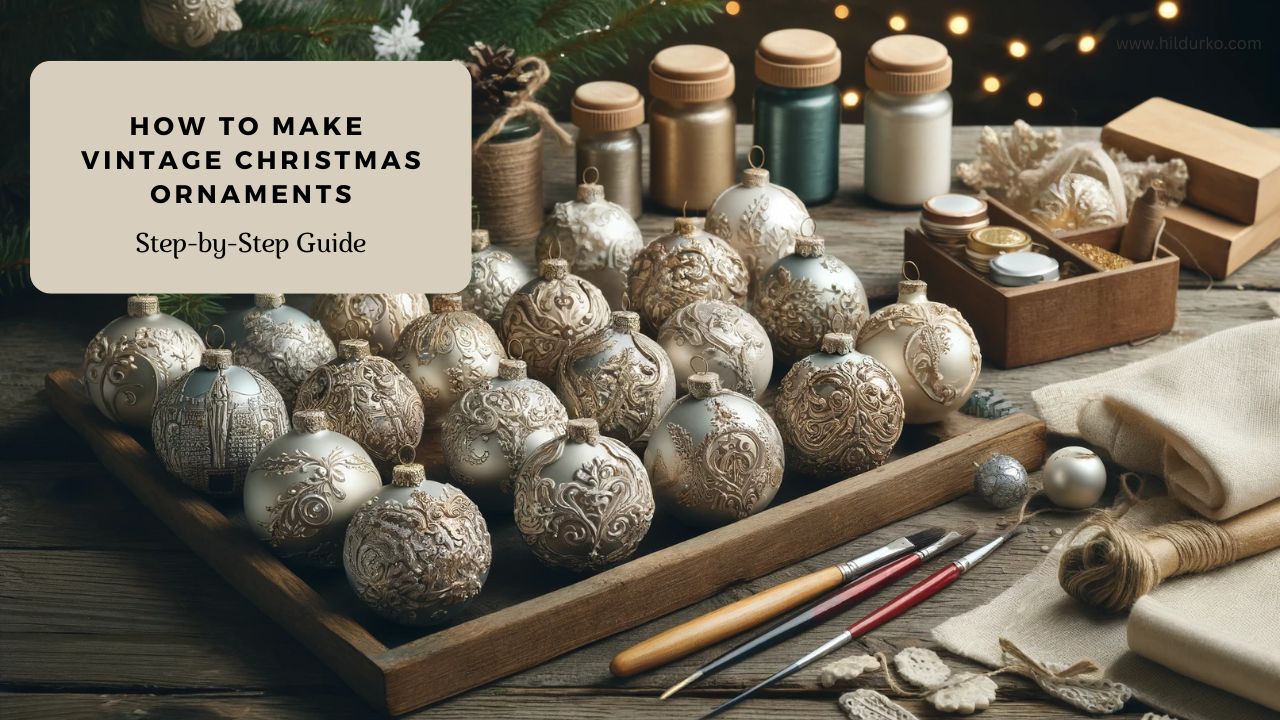
Vintage Inspired Christmas Ornaments: A Step-by-Step Guide
Creating vintage Christmas ornaments is a delightful way to add a personal touch to your holiday decor. Vintage-style ornaments often feature intricate designs, muted colors, and a sense of old-world charm. In this guide, we’ll walk through the process of making your own vintage-inspired ornaments similar to the ones in the image provided, with step-by-step instructions and tips to add extra flair.
Materials Needed:
- Clear glass or plastic ornaments: These serve as the base for your design.
- Acrylic paint: Choose colors like gold, silver, bronze, or muted greens and reds to achieve a vintage look.
- Paintbrushes : Various sizes for different detailing work.
- Decorative mold or clay mold: For creating raised patterns.
- Polymer clay or air-dry clay: To make embellishments.
- Gold leaf or metallic wax: For adding a luxurious touch.
- Glue: Strong craft glue for attaching decorations.
- Ribbon or velvet cord: To hang the ornaments.
- Sealant or varnish: To protect your finished ornament.
- Optional embellishments: Pearls, lace, small beads, tassels.
Step-by-Step Instructions:
Step 1: Prepare the Base Ornament
Start with a clear glass or plastic ornament. If you’re using a glass ornament, be sure to handle it carefully to avoid breakage. Clean the surface with a damp cloth to remove any dust or fingerprints, ensuring that the paint adheres properly.
Step 2: Create the Base Color
To achieve a vintage look, choose a base color like ivory, pale gold, or a soft pastel. Use a flat brush to apply acrylic paint evenly across the surface of the ornament. You may need to apply two or three coats to achieve an opaque finish. Let each layer dry completely before applying the next one.
Step 3: Add Decorative Moldings
While the base paint dries, prepare your decorative elements. If you have a mold, press the polymer clay or air-dry clay into it to create your desired shapes. Popular vintage patterns include floral motifs, filigree designs, and baroque flourishes.
Once the clay shapes have set, gently remove them from the mold. If you’re using polymer clay, bake it according to the manufacturer’s instructions. For air-dry clay, let it harden completely.
Step 4: Attach the Embellishments
Using a strong craft glue, carefully attach the clay embellishments to the ornament. Arrange them symmetrically or in a pattern that appeals to you. Press them firmly into place and allow the glue to dry thoroughly.
Step 5: Paint and Detail the Embellishments
Once the embellishments are securely attached, it’s time to paint them. Use metallic acrylic paints such as gold, silver, or bronze to highlight the raised details. A fine-tipped brush is ideal for this step. For a more antique look, lightly brush a darker shade over the top of the metallic paint to create depth and an aged appearance.
Step 6: Add Gold Leaf or Metallic Wax
To add a luxurious vintage touch, apply gold leaf or metallic wax to the raised portions of the ornament. If you’re using gold leaf, apply a thin layer of adhesive to the areas where you want the leaf to stick. Gently press the gold leaf onto the adhesive and brush away any excess. For metallic wax, use your fingers or a small brush to rub the wax onto the ornament’s surface, focusing on the raised embellishments for a highlighted effect.
Step 7: Seal Your Ornament
Once all the paint and decorations are dry, apply a clear sealant or varnish to protect your work and give the ornament a finished look. Choose a matte or gloss finish depending on your preference. Make sure to cover the entire surface, and let the sealant dry completely.
Step 8: Add the Final Touches
To hang your ornament, thread a ribbon or velvet cord through the top loop. For an extra vintage touch, consider using a rich, dark color like burgundy or forest green. You can also add small embellishments like pearls, lace, or small beads to the ribbon for added elegance.
Step 9: Optional Extra Touches
For a truly unique ornament, consider these additional ideas:
- Add Tassels: Attach a tassel to the bottom of the ornament for an extra decorative element. Tassels in metallic threads or rich, deep colors can add a vintage flair.
- Use Crackle Paint: For a cracked, aged look, apply a layer of crackle paint over the base color before adding the embellishments.
- Include Personal Touches: Incorporate small photos, initials, or dates in a vintage font to personalize the ornament.
Conclusion
Creating vintage Christmas ornaments is a fun and rewarding project that allows you to customize your holiday decor. By following these steps and adding your own creative touches, you can craft beautiful ornaments that bring a touch of nostalgia and elegance to your Christmas tree. Not only do these handmade decorations add charm to your home, but they also make wonderful gifts for friends and family. Enjoy the process of crafting and the joy of seeing your creations on display during the holiday season!
Check out these helpful videos!
If you enjoy the videos mentioned in this post, we encourage you to visit the creators’ channels and give them a like. Your support helps them continue to produce high-quality content and share their creative ideas with the community. By liking and subscribing to their channels, you not only show your appreciation but also stay updated with their latest projects and tips.
Happy crafting
LIKE THIS POST?
Share the link on your social media
or pin the image below to your Pinterest board!