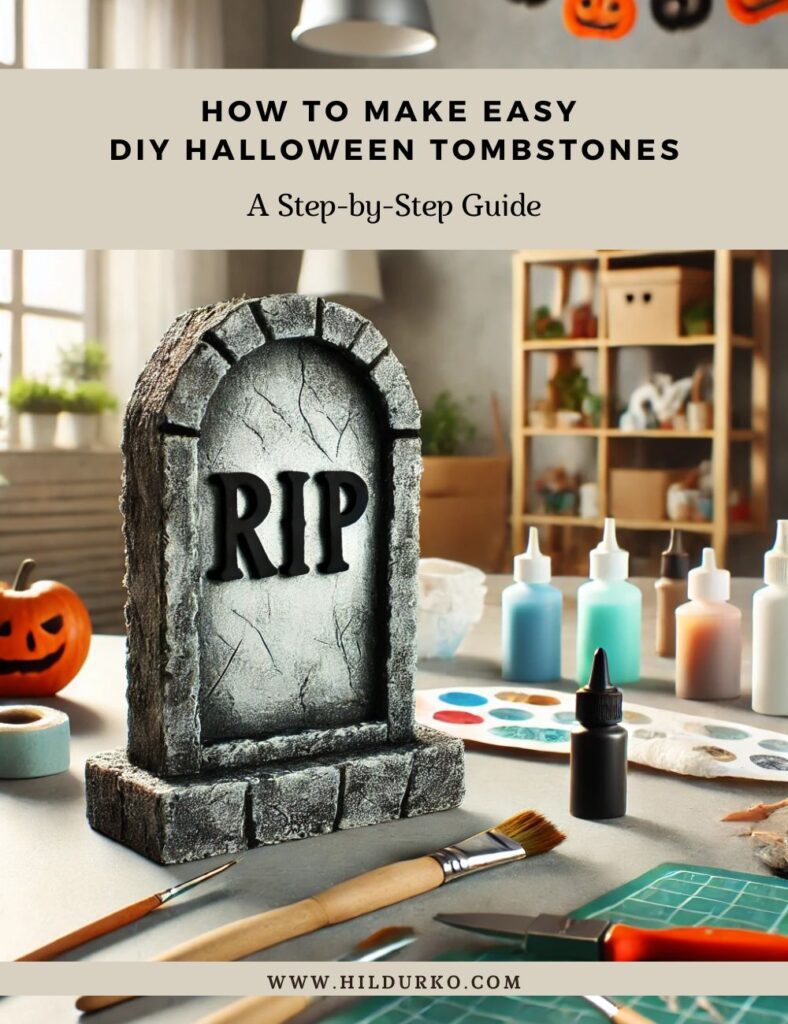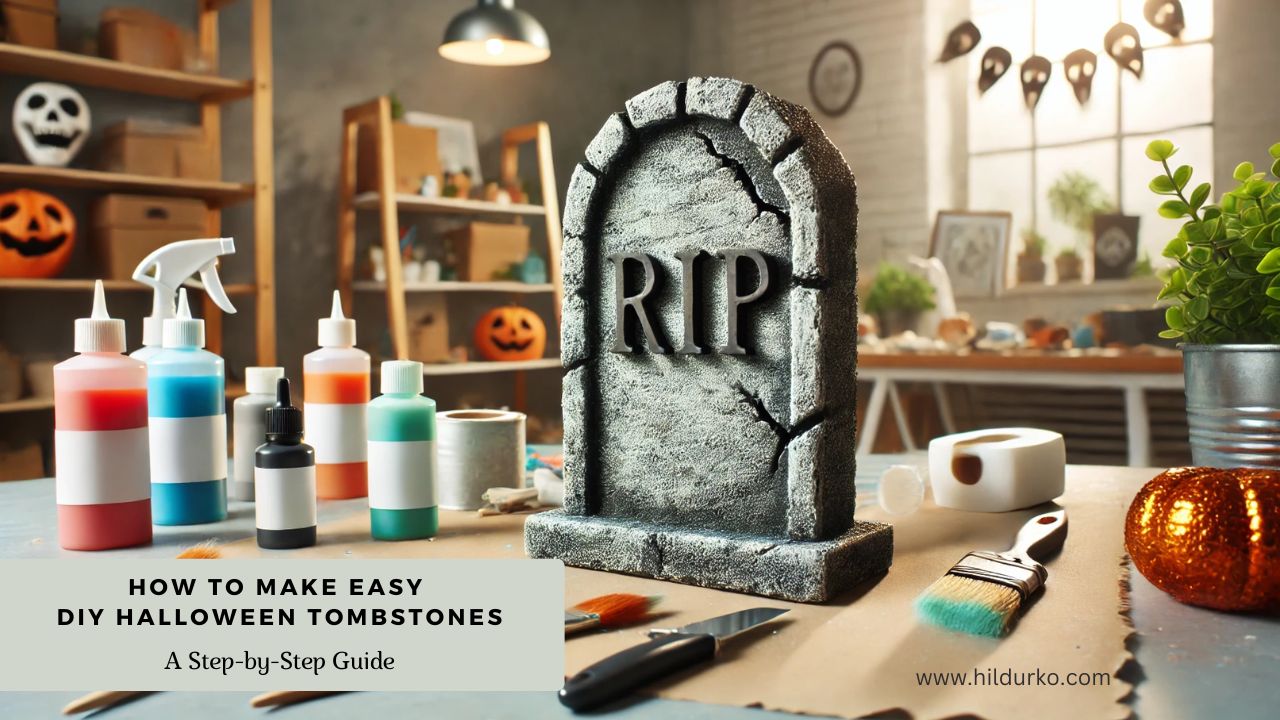
A Step-by-Step Guide
Transforming your yard into a creepy Halloween graveyard is one of the most iconic ways to decorate for the spooky season. DIY Halloween tombstones are an affordable and fun project that adds an eerie atmosphere to your outdoor space. With a little creativity and basic materials, you can make custom tombstones that fit your Halloween theme perfectly. Whether you’re looking for a humorous take on the graveyard or something truly scary, this guide will help you craft realistic, easy-to-make Halloween tombstones.
Materials You’ll Need:
- Foam board or Styrofoam sheets: These will be the base for your tombstones.
- Utility knife or craft knife: For cutting the foam into tombstone shapes.
- Acrylic paint: Grey, black, and white for a stone-like finish.
- Black marker or paint pen: To write inscriptions and details.
- Hot glue gun and glue sticks: To attach any decorative elements.
- Sandpaper or file: For smoothing edges and creating texture.
- Wooden stakes or garden stakes: For securing the tombstones into the ground.
- Optional extras: Moss, plastic skulls, cobwebs, or decorative elements.
Step-by-Step Instructions:
Step 1: Create the Tombstone Shape
Begin by deciding on the shape of your tombstone. The most common designs include a rounded top, cross shape, or a classic rectangular stone with an arched top. You can sketch the shape onto the foam board or Styrofoam sheet with a pencil. Don’t worry about being too precise—imperfections will only add to the spooky, weathered look.
Once you’re satisfied with the shape, use a utility knife or craft knife to cut it out. Be sure to work on a protected surface and handle the knife carefully. If the edges are rough, use sandpaper or a file to smooth them out and create a more worn, stone-like appearance.
Step 2: Add Texture to the Tombstone
To make the foam look like real stone, you’ll need to add some texture. Use sandpaper or the edge of your knife to rough up the surface and create divots or cracks. For deeper texture, you can gently press into the foam with the back of a pen or other blunt object. The goal is to give the tombstone a weathered, old appearance.
If you want to create more dramatic cracks, you can even slice lightly into the foam and then press the edges apart. You can also carve small decorative shapes or symbols like crosses, skulls, or flowers directly into the foam.
Step 3: Paint the Tombstone
Once you’re happy with the texture, it’s time to paint. Start by applying a base coat of grey acrylic paint to the entire tombstone. Use a large brush for full coverage and allow the paint to dry completely.
After the base coat dries, you can add shading and highlights to make the tombstone look more realistic. Mix black and grey paint to darken certain areas, such as the edges and cracks, giving the tombstone more depth. Then, use a dry brush technique with white or light grey paint to lightly brush over the surface, adding highlights that mimic natural stone.
Be sure to let the paint dry between layers, and don’t worry about being too neat—uneven paint only enhances the weathered look.
Step 4: Add Inscriptions and Details
Now it’s time to personalize your tombstone. Using a black marker or paint pen, write out a spooky (or funny) inscription. You can use classic phrases like “R.I.P.” or “Here Lies,” or you can get creative and add humorous messages like “I Told You I Was Sick” or “Gone But Not Forgotten—Mostly.”
If you prefer a scarier vibe, use Gothic fonts and phrases like “Beware All Who Enter” or “Rest in Torment.” Make the lettering large and bold so it stands out against the grey background.
For an added touch, draw symbols like crosses, skulls, or cobwebs around the inscription. If you carved designs earlier, use black paint to fill in the details and make them more visible.
Step 5: Seal and Protect the Tombstone
To ensure your tombstones can withstand outdoor conditions, it’s a good idea to apply a sealer or varnish over the entire surface once the paint is dry. This will protect your creation from rain and moisture, helping it last throughout the Halloween season. You can use a clear acrylic sealer or spray varnish for this step.
Step 6: Secure the Tombstone in Place
To keep your tombstone upright in your yard, attach wooden stakes to the back of the foam board using hot glue. Make sure the stakes are long enough to be inserted into the ground securely. For larger tombstones, you may want to use two stakes for extra stability. If you’re placing the tombstone on a porch or indoors, you can skip this step and simply prop it up against a wall.
Step 7: Add Decorative Elements
For a final spooky touch, consider adding extra decorative elements to your tombstone. Hot glue plastic skulls, faux moss, or small fake flowers around the base for an eerie, overgrown graveyard look. You can also drape faux cobwebs over the top of the tombstone to make it look abandoned and creepy.
Ideas for Personalized Tombstones:
Here are some ideas to make your DIY tombstones even more fun and unique:
- Humorous Epitaphs: Add witty phrases or puns to lighten the spooky mood. Some examples include:
- “Here Lies Old Man Gloom, Gone Too Soon.”
- “I’ll Be Back—Eventually.”
- “Bury Me With My Wi-Fi.”
- Themed Tombstones: Create tombstones based on famous horror characters or Halloween movie references, such as “Freddy Krueger” or “Michael Myers,” complete with their iconic images or quotes.
- Family and Friends Names: Have fun with your loved ones by adding their names to the tombstones. Just make sure they have a good sense of humor!
- Glowing Tombstones: For an extra spooky effect, add glow-in-the-dark paint to the inscriptions or edges of the tombstone, making them stand out at night.
Conclusion: A Spooky DIY Halloween Graveyard
Creating DIY Halloween tombstones is an easy and inexpensive way to add an eerie touch to your outdoor decorations. With just a few simple materials and some creativity, you can make your yard look like a haunted graveyard in no time. Whether you prefer funny, lighthearted designs or something truly terrifying, these tombstones are sure to make your Halloween display stand out. So grab your supplies and get ready to craft a spooky scene that will impress trick-or-treaters and visitors alike!
Check out these helpful videos!
If you enjoy the videos mentioned in this post, we encourage you to visit the creators’ channels and give them a like. Your support helps them continue to produce high-quality content and share their creative ideas with the community. By liking and subscribing to their channels, you not only show your appreciation but also stay updated with their latest projects and tips.
Happy crafting
LIKE THIS POST?
Share the link on your social media