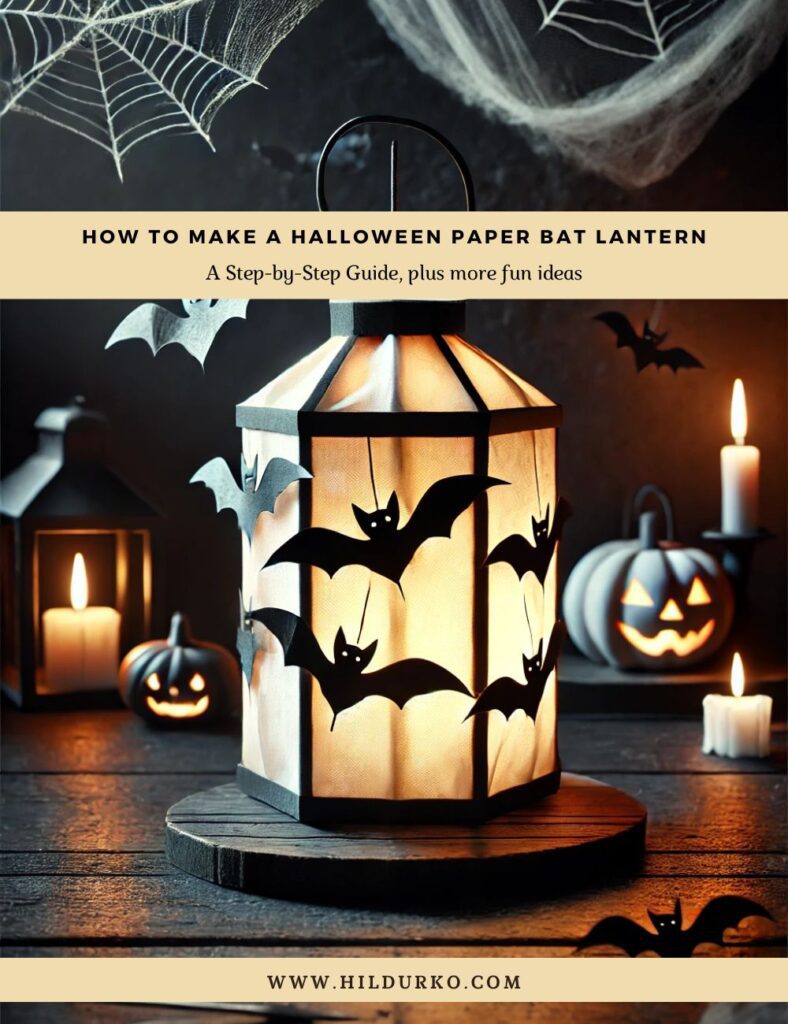
A Step-by-Step Guide
Halloween is the perfect time to get crafty and decorate your home with spooky yet fun decorations. One of the easiest and most festive DIY projects you can make is a Halloween paper bat lantern. It adds a touch of eerie ambiance to any room or outdoor space, creating a haunted but whimsical atmosphere. This lantern is simple to create, and it’s a great project for kids and adults alike. In this guide, we’ll walk you through the process of making a paper bat lantern, step by step.
Materials You’ll Need:
- Black construction paper or cardstock: Sturdy paper works best for creating bats that hold their shape.
- White or translucent paper: For the lantern background to let light through.
- Scissors: For cutting your paper shapes.
- Craft knife (optional): For more precise cutting of details.
- Pencil: For tracing bat shapes.
- Glue or double-sided tape: To attach the paper pieces together.
- Ruler: For making straight, clean edges.
- String or ribbon: To hang your lantern.
- LED tea lights: For safe, flameless lighting inside the lantern.
Step-by-Step Instructions:
Step 1: Create the Bat Shapes
Start by designing the bats that will decorate your lantern. You can either draw your own bat shapes or use a bat template to trace onto your black construction paper or cardstock. Make sure the bats are large enough to be seen when placed on the lantern, but not so large that they cover the entire surface. A good size is about 3-4 inches in wingspan.
Cut out as many bats as you’d like—this will depend on how full you want your lantern to look. If you’re making a larger lantern, you can use more bats for a fuller, creepier effect.
Step 2: Prepare the Lantern Panels
Cut your white or translucent paper into four rectangles (or more, depending on the size of your lantern) that will form the sides of your lantern. The dimensions of each panel will depend on how large you want the lantern to be, but a good size to start with is 5 inches by 8 inches per panel. Use your ruler to ensure the edges are straight and even.
If you’re using black construction paper for the frame, cut four more rectangles that will serve as the frames for your lantern. These should be slightly smaller than the white paper to form a border, about 4.5 inches by 7.5 inches.
Step 3: Attach the Bats to the Panels
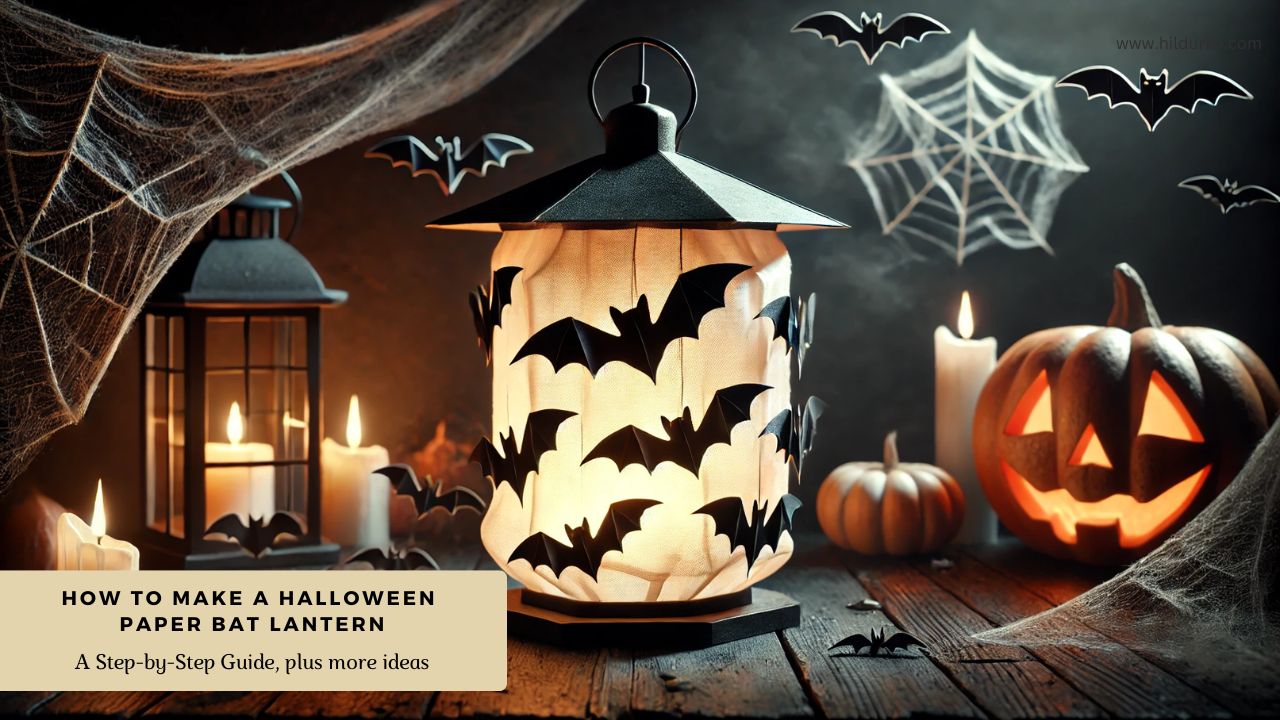
Take your black bat cutouts and arrange them on the white or translucent paper panels. You can glue them down randomly or create a specific pattern—whatever fits your spooky vision! Make sure to leave some space around the edges for the frame if you’re using one.
Once you’re happy with the arrangement, glue or tape the bats in place. Be sure to press firmly so they stick well.
Step 4: Assemble the Lantern Frame
If you’re using a black construction paper frame, now is the time to attach it. Glue the frames around the edges of each white or translucent panel, ensuring the bats are centered. This creates a clean border around the bats and adds contrast for a striking look.
Once all four panels are framed, it’s time to assemble the lantern. Take two of the panels and glue the edges together, forming a right angle. Repeat with the other two panels, and then glue both halves together to form a box. Leave the top and bottom open for now.
Step 5: Add a Top and Bottom to the Lantern
To make your lantern more stable and finished, you can add a top and bottom panel. Cut two pieces of black cardstock slightly larger than the open ends of the lantern. Fold the edges of these pieces inward about half an inch, creating a small lip that will help them attach to the lantern.
Glue one panel to the bottom of the lantern, securing it in place. If you’re planning to hang the lantern, you can leave the top open, or add the second panel with a small hole cut out to insert your LED tea light.
Step 6: Add a Handle or Hanging String
If you want to hang your lantern, cut a piece of string or ribbon, and attach it to the top corners of the lantern. You can either glue it in place or use a hole punch to create small holes in the top corners, then thread the string through and tie it off.
This handle will make it easy to hang your lantern on a hook, tree branch, or wherever you want to display it.
Step 7: Light It Up!
Now for the final touch—lighting your lantern. Place an LED tea light inside the lantern. These flameless lights are perfect because they provide a warm glow without the fire hazard, making them safe for both indoor and outdoor use.
If your lantern has a top panel, make sure to leave a small opening or cut a hole so you can easily place and remove the LED tea light. Once it’s lit up, your lantern will cast eerie bat shadows, adding the perfect touch of Halloween spookiness.
Tips for Making Your Paper Bat Lantern:
- Choose high-quality paper: Heavier paper or cardstock will make your bats and lantern sturdier and more durable, especially if you plan to hang it outside.
- Experiment with different designs: Try different bat shapes and sizes for variety. You can also add other spooky elements like spiders, ghosts, or pumpkins to your lantern.
- Personalize your lantern: Add glitter, sequins, or metallic paint to give your lantern some extra sparkle and shine.
- Make a lantern garland: Create multiple smaller lanterns and string them together to make a spooky garland to decorate your porch or living room.
- Use different lighting: If you want an even spookier effect, try using colored LED lights inside your lantern, such as orange, purple, or green.
Conclusion: More Halloween Paper Crafts
In addition to bat lanterns, there are many other fun paper crafts you can create for Halloween. Try making paper ghosts, pumpkin lanterns, or even a haunted house centerpiece. Paper crafts are a budget-friendly and creative way to decorate your home for the holiday, and they provide endless opportunities for customization. With just a few simple materials and a bit of imagination, you can make your home the spookiest (and craftiest) on the block this Halloween season.
Check out these helpful videos!
If you enjoy the videos mentioned in this post, we encourage you to visit the creators’ channels and give them a like. Your support helps them continue to produce high-quality content and share their creative ideas with the community. By liking and subscribing to their channels, you not only show your appreciation but also stay updated with their latest projects and tips.
Happy crafting
LIKE THIS POST?
Share the link on your social media