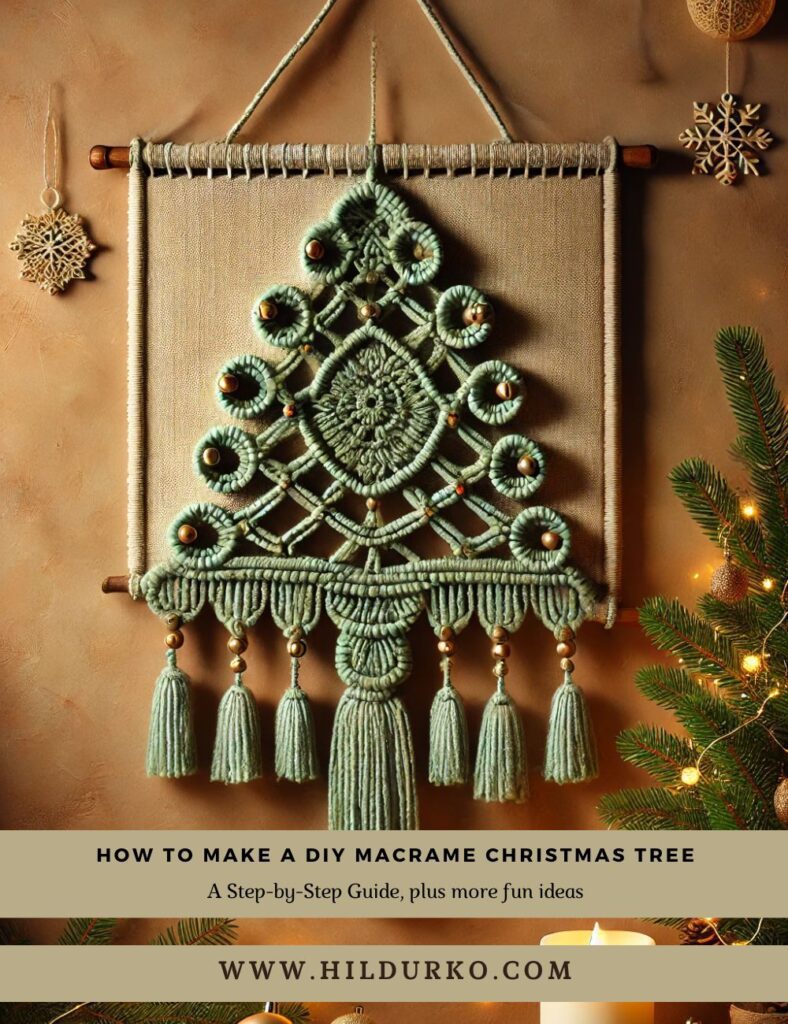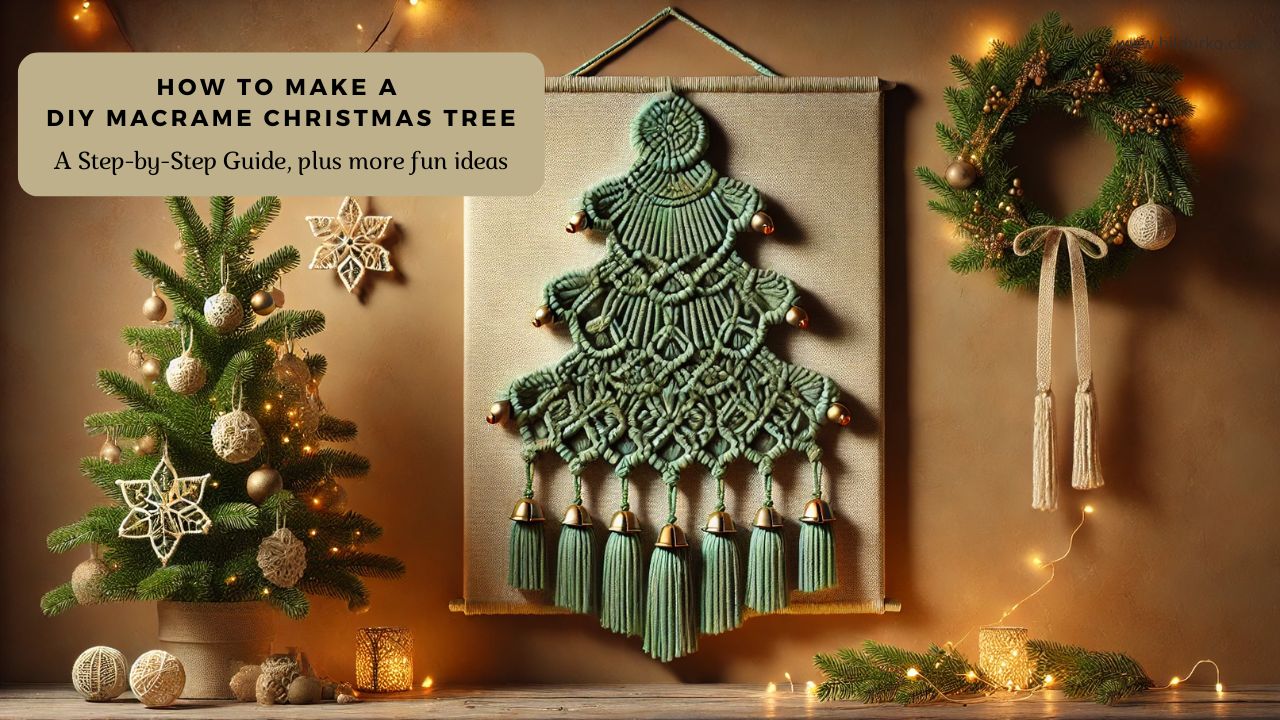
A Step-by-Step Guide, plus more fun ideas
Macrame, an ancient craft that uses knotting techniques to create beautiful designs, has experienced a resurgence in popularity. It’s versatile, easy to learn, and can be used to make everything from wall hangings to plant holders. This holiday season, why not try making a DIY macrame Christmas tree? It’s a unique, handmade decoration that adds a cozy, bohemian touch to your festive decor. In this guide, we’ll walk you through the steps to create your own macrame Christmas tree and share some basic tips for macrame beginners.
Materials Needed:
- Macrame cord: Cotton cord is ideal; use green, white, or red for a festive look.
- Wooden dowel or branch: This will serve as the base of your tree.
- Scissors: Sharp scissors are essential for cutting the cord cleanly.
- Measuring tape: For precise measurements of your cords.
- Optional decorations: Small beads, bells, or ribbons to embellish your tree.
Step-by-Step Instructions:
Step 1: Prepare Your Materials
Start by cutting your macrame cord into lengths. For a medium-sized tree (about 18 inches tall), cut 12 pieces of cord, each about 3 feet long. If you want a larger or smaller tree, adjust the length and number of cords accordingly.
Step 2: Attach the Cord to the Dowel
Fold each piece of cord in half, creating a loop at the midpoint. Place the loop over the dowel, then pull the ends of the cord through the loop, tightening it to secure the cord to the dowel. This knot is called a Lark’s Head Knot, and it’s the foundation of many macrame projects.
Step 3: Create the Base of the Tree
With all your cords attached to the dowel, it’s time to start forming the tree shape. Divide the cords into four groups of three strands each. Begin making square knots (a common macrame knot) with each group.
To make a square knot:
- Take the outer left cord and cross it over the two middle cords, creating a loop.
- Take the outer right cord, place it over the tail of the left cord, then pass it under the two middle cords and up through the loop created by the left cord.
- Pull both outer cords tight to form the knot.
- Repeat this process, starting from the right side, to complete the square knot.
Continue making square knots with each group until you reach your desired length for the base of your tree.
Step 4: Taper the Tree
To create the tapered, triangular shape of a Christmas tree, you’ll need to gradually reduce the number of cords in each group. Once you’ve made a few rows of square knots for the base, combine two groups of cords and start knotting them together to form a new group. This will decrease the width of your tree as you move up.
For example:
- Start with four groups of three cords.
- After a few rows, combine the two outer groups into one, resulting in three groups.
- Continue knotting with these groups, then combine again to form two groups, and finally one group at the top.
Step 5: Add Fringe and Decorations
Once you’ve reached the top of your tree, cut the remaining cords to create a fringe. Trim the ends to your desired length and style; you can leave them straight or unravel the ends for a fluffy, bohemian look. To add a bit of sparkle or color, thread small beads, bells, or ribbons onto the cords as decorations.
Step 6: Attach the Hanger
To hang your macrame Christmas tree, cut a short length of cord and attach it to both ends of the dowel. Tie a secure knot and trim any excess cord. Your tree is now ready to be displayed on a wall or door!
Basic Macrame Tips for Beginners:
- Start with simple knots: Begin with the Lark’s Head Knot, Square Knot, and Half Knot. These basic knots are the foundation of most macrame projects.
- Practice tension control: The key to neat macrame is consistent tension. Practice pulling your knots tight but not too tight to keep your patterns uniform.
- Measure your cords accurately: Always measure your cords before cutting. It’s better to have extra cord than to run out halfway through your project.
- Use a macrame board or tape: Secure your work to a board or table with tape or clips. This keeps your cords organized and makes knotting easier.
- Experiment with cord types and sizes: Different cords (cotton, jute, nylon) and thicknesses will create different looks. Don’t be afraid to experiment to find what you like best.
Creative Macrame Ideas for Christmas
Beyond a macrame Christmas tree, there are many other festive decorations you can create using macrame techniques. Here are a few ideas to inspire you:
- Macrame Snowflakes: Use white or metallic cord to create intricate snowflake designs. These make beautiful ornaments or window decorations.
- Macrame Wreath: Form a circular wreath using green macrame cord, adding red beads or ribbon for a traditional holiday look.
- Macrame Star Ornaments: Create star-shaped ornaments using golden or silver cord. Hang them on your tree or around your home for added sparkle.
- Macrame Garland: Make a garland by stringing together smaller macrame pieces, like stars or trees, on a long cord. Drape it over your mantel or around your Christmas tree for a boho-chic touch.
- Macrame Gift Wrap: Use macrame cord to tie and decorate gift boxes. Add small macrame tags or charms for a personalized, handmade feel.
Macrame is a versatile craft that allows you to add a handmade touch to your holiday decor. Whether you’re a beginner or an experienced crafter, creating a macrame Christmas tree or any of these festive decorations is a fun and rewarding project. Enjoy experimenting with different designs and make your home even more magical this Christmas season!
Check out these helpful videos!
If you enjoy the videos mentioned in this post, we encourage you to visit the creators’ channels and give them a like. Your support helps them continue to produce high-quality content and share their creative ideas with the community. By liking and subscribing to their channels, you not only show your appreciation but also stay updated with their latest projects and tips.
Happy crafting
LIKE THIS POST?
Share the link on your social media