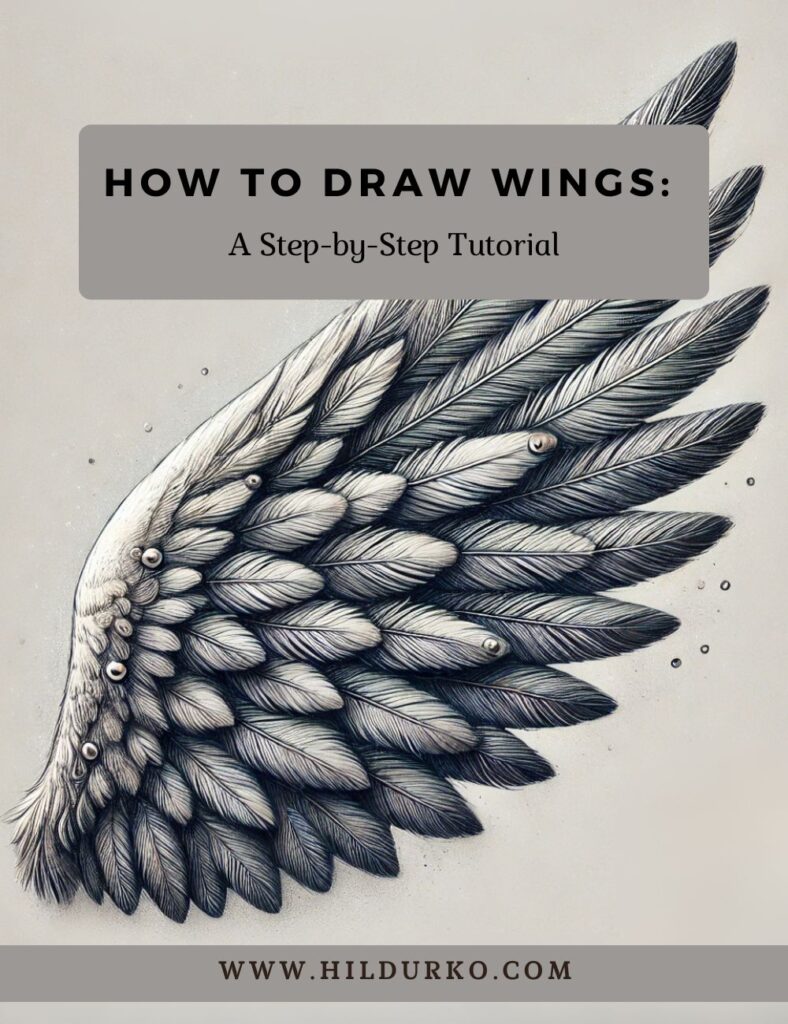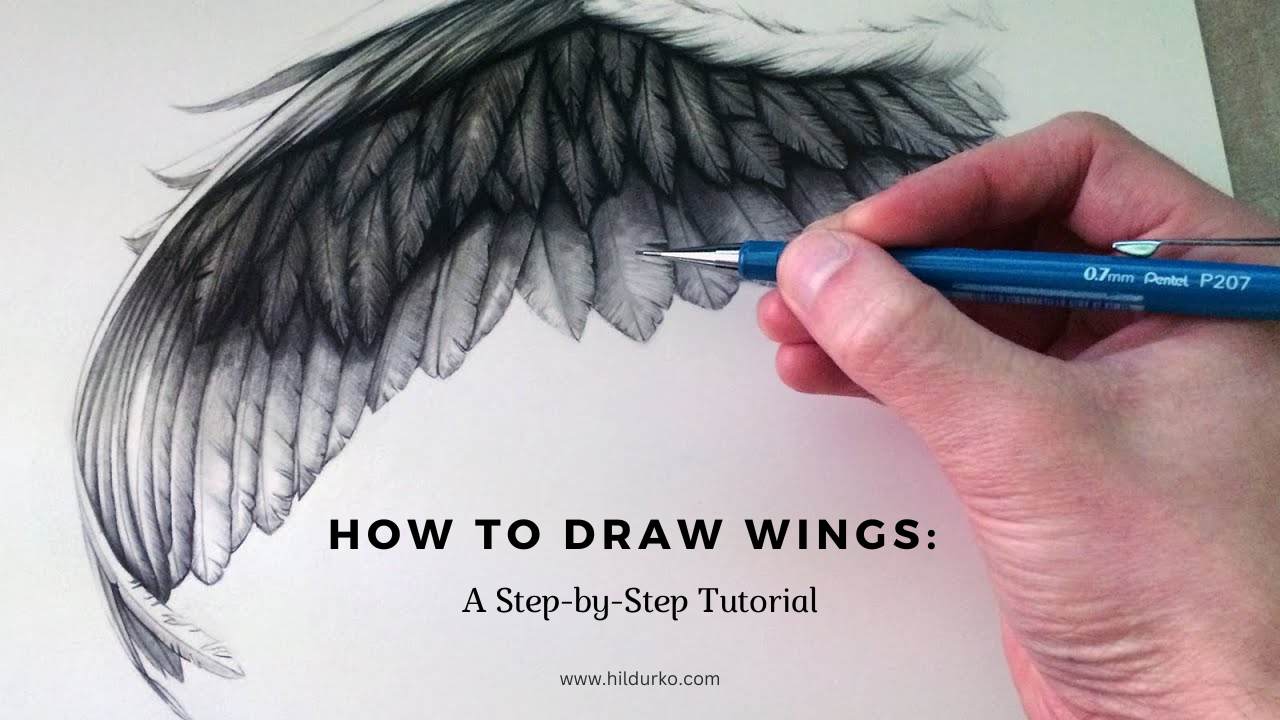
Drawing wings can be a fascinating and rewarding challenge for artists of all levels. This tutorial, inspired by the expert guidance from the YouTube video by LethalChris Drawing , provides an easy-to-follow breakdown on how to draw wings. Whether you are drawing wings for birds, angels, or mythical creatures, this guide will help you create realistic and detailed wings. Make sure to check out the video at the end of this post for a visual walkthrough and more tips from the artist.
Materials You’ll Need
- Paper or sketchbook
- Pencils (preferably a range of hardness from 2H to 6B)
- Eraser
- Reference images of wings (optional but helpful)
Step 1: Understanding Wing Anatomy
Before you start drawing, it’s important to understand the basic anatomy of wings. Wings can be broadly divided into three main sections:
- The Shoulder: This is where the wing attaches to the body. It’s usually the thickest part of the wing.
- The Midsection: This is the longest part of the wing, where the primary feathers are located.
- The Tip: The end of the wing, which tapers off and contains the longest feathers.
For bird wings, the feathers can be categorized into three types: primary, secondary, and tertiary. Primary feathers are found at the tips, secondary feathers are located in the middle section, and tertiary feathers are closer to the body.
Step 2: Sketching the Basic Shape
Start by lightly sketching the basic shape of the wing. Use simple lines and shapes to outline the structure. Begin with an elongated triangle or a similar shape to represent the wing’s overall form. This step is crucial for establishing the correct proportions and positioning on your drawing surface.
Step 3: Drawing the Wing Segments
Divide the wing into its three main sections: shoulder, midsection, and tip. Use curved lines to define these areas, ensuring they flow naturally from one to the other. This will help you maintain a realistic look as you add more details.
Step 4: Adding Feathers
Begin by drawing the primary feathers at the tip of the wing. These feathers are usually long and slightly curved. Next, move on to the secondary feathers, which are shorter and overlap with the primary feathers. Finally, add the tertiary feathers closer to the body. Remember to vary the size and shape of the feathers to create a more natural and dynamic appearance.
Step 5: Detailing the Feathers
Now that you have the basic feather layout, start adding details to each feather. Draw the central shaft (rachis) of each feather first, then add the individual barbs coming off the shaft. This can be done with short, curved lines. Pay attention to the direction and flow of the feathers to ensure they look realistic.
Step 6: Shading and Texture
Add shading to your drawing to give it depth and dimension. Start with light shading to define the overall form, then gradually build up darker tones to create contrast. Focus on areas where the feathers overlap and where shadows naturally fall. Use a blending tool or your fingers to smooth out the shading and create a more realistic texture.
Step 7: Final Touches
Review your drawing and make any necessary adjustments. Clean up any stray lines with an eraser and refine the details of the feathers and shading. Adding highlights with a white pencil or eraser can also enhance the texture and depth of your drawing.
Conclusion
Drawing wings requires patience and practice, but with these steps, you can create detailed and realistic wings for any of your artistic projects. Remember to observe real wings and use reference images to improve your understanding and accuracy.
For a more comprehensive guide and visual step-by-step instructions, be sure to watch the video by LethalChris Drawing below:
By following these steps and learning from experienced artists, you can master the art of drawing wings and add a beautiful element to your artwork. Happy drawing!
For more about LethalChris Drawing
LIKE THIS POST?
Share the link on your social media
or pin the image below to your Pinterest board!