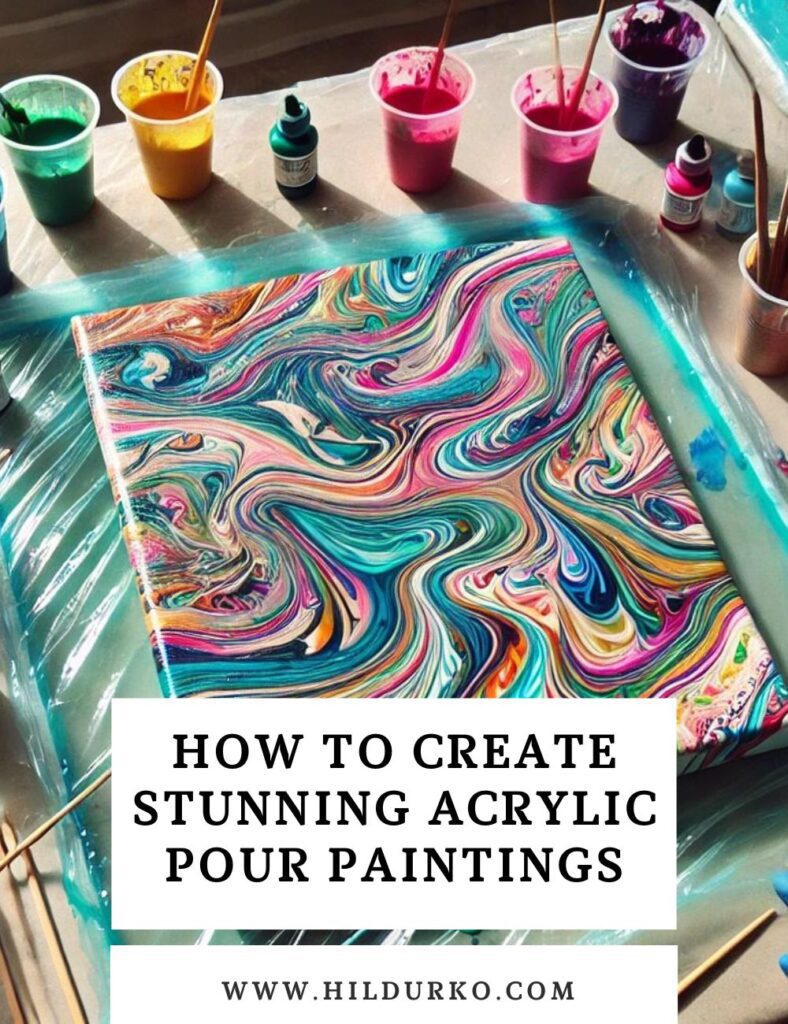
Are you ready to dive into the mesmerizing world of acrylic pour painting? This popular art technique is perfect for both beginners and experienced artists looking to create vibrant, abstract pieces with unique patterns and effects. In this tutorial, we’ll walk you through the basic steps of the “Dirty Pour” technique, a favorite among many acrylic pour enthusiasts. Let’s get started!
What You’ll Need
Before you begin, gather the following supplies:
- Acrylic Paints: Choose a variety of colors. Craft paints work well, but you can also use professional quality paints.
- Pouring Medium: Floetrol, Elmer’s Glue mixed with water, or a commercial pouring medium like Liquitex.
- Canvas or Wood Panels: 8×10 canvas panels are a great starting size.
- Plastic Cups: For mixing paints.
- Stir Sticks: Popsicle sticks or similar.
- Vinyl Gloves: To keep your hands clean.
- Plastic Sheeting or Newspapers: To protect your work surface.
- Blow Dryer (optional): For spreading the paint.
- Silicone Oil (optional): To create cells in the paint.
Setting Up Your Workspace
- Protect Your Surface: Lay down plastic sheeting or newspapers to catch any drips.
- Elevate Your Canvas: Use plastic shot glasses or small containers to lift your canvas off the work surface, allowing paint to drip off the edges.
Preparing Your Paint
- Mixing Paints: In separate cups, mix each color of acrylic paint with your pouring medium. The consistency should be like warm honey or melted ice cream. If the paint is too thick, add a bit of water (preferably distilled).
- Adding Silicone: If you want to create cells, add a few drops of silicone oil to some of the paint colors and stir gently.
The Dirty Pour Technique
- Layering the Paint: In a large cup, layer your mixed paints by pouring them on top of each other. You can experiment with the order of colors for different effects.
- Pouring the Paint: Flip the cup onto the center of your canvas and then lift it, allowing the paint to flow out. Tilt the canvas to spread the paint and cover the entire surface. Use a blow dryer to help spread the paint further if desired.
- Creating Cells: If you’ve added silicone, you’ll start to see cells forming as the paint settles. You can also use a spritzer bottle with isopropyl alcohol to encourage cell formation by lightly spraying the canvas.
Drying and Finishing
- Drying: Let your painting dry flat for at least 24 hours. Avoid moving the canvas during this time to prevent the paint from shifting.
- Protecting Your Art: Once dry, you can add a varnish or clear coat to protect your painting and enhance its colors.
Tips and Tricks
- Color Choices: For beginners, start with analogous or monochromatic color schemes to avoid muddy colors. Adding a metallic color like gold or silver can give your painting a beautiful shimmer.
- Experimenting: Don’t be afraid to experiment with different techniques and tools. Try using a blow dryer, straws, or even a palette knife to manipulate the paint and create different effects.
Recommended Video Tutorial
For a visual guide, check out Olga Soby’s comprehensive video tutorials on acrylic pouring. Olga covers various techniques, including the Dirty Pour, and provides detailed explanations that are easy to follow. You can find her videos on her YouTube channel (Olga Soby) (K.becca).
Conclusion
Acrylic pour painting is a fun and creative way to explore abstract art. With the right materials and a bit of practice, you can create stunning, unique pieces. Remember, no two pours are ever the same, so embrace the unpredictability and enjoy the process!
Happy pouring!
For more detailed instructions and additional techniques, visit Olga Soby’s website and check out her tutorials (Olga Soby) (Smiling Colors) (K.becca).
LIKE THIS POST?
Share the link on your social media
or pin the image below to your Pinterest board!