How to crochet a Simple Star Pattern: Step-by-Step Instructions:
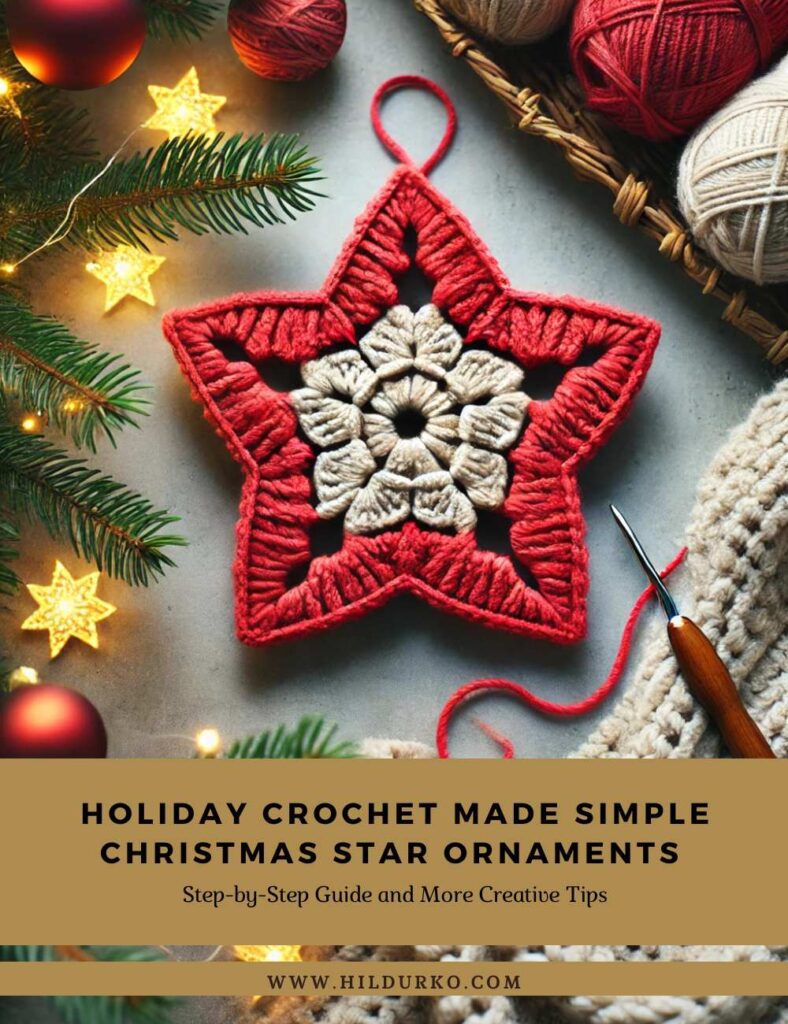
The holiday season is just around the corner, and what better way to decorate your tree than with handmade crochet ornaments? Crocheting your own Christmas decorations adds a personal touch to your holiday décor, and it’s a great way to get into the festive spirit. One of the most popular and classic shapes for Christmas ornaments is the star. In this tutorial, I’ll walk you through how to crochet a simple yet beautiful star ornament. It’s beginner-friendly, quick to make, and you can customize it with different colors to match your holiday theme.
What You’ll Need:
- Yarn: I recommend using worsted weight yarn in any festive color you like. Red, green, gold, silver, and white are popular Christmas colors, but feel free to get creative!
- Crochet Hook: Use the size recommended on your yarn label. Usually, a 4mm or 5mm hook works well for worsted weight yarn.
- Scissors
- Yarn needle: For weaving in ends and attaching a hanging loop.
- Optional: Beads, glitter, or ribbons for added decoration.
Step-by-Step Instructions:
Step 1: Create a Magic Ring
To start your star ornament, you’ll begin with a magic ring, which allows your work to close tightly at the center, perfect for this shape.
- Hold your yarn and form a loop.
- Insert your hook into the loop and pull up a loop.
- Chain 1 to secure.
If you’re unfamiliar with the magic ring technique, you can chain 4 and slip stitch into the first chain to form a ring instead.
Step 2: First Round
- Chain 2 (this counts as your first double crochet).
- Work 9 double crochets into the magic ring (or your chain ring), so you have a total of 10 stitches.
- Pull the tail of your magic ring to close the center tightly.
- Slip stitch into the top of the chain 2 to join the round.
Step 3: Start Forming the Star Points
Each point of the star is made from a combination of chains and single crochets. You’ll work in rounds to give the star its shape.
- Chain 5.
- In the second chain from the hook, work 1 single crochet.
- In the next chain, work 1 half double crochet.
- In the next chain, work 1 double crochet.
- In the next chain, work 1 triple crochet.
- Skip the next stitch in the ring and slip stitch into the following stitch.
This completes one point of the star. You’ll now repeat the process to create the remaining points.
Step 4: Repeat the Star Points
To make the rest of the points:
- Chain 5.
- Work 1 single crochet in the second chain from the hook.
- Work 1 half double crochet in the next chain.
- Work 1 double crochet in the next chain.
- Work 1 triple crochet in the last chain.
- Skip the next stitch in the ring and slip stitch into the following stitch.
Continue this until you have five points. Once all the points are completed, you should have a lovely star shape!
Step 5: Finishing Off
After completing the last point:
- Slip stitch into the base of the first point to secure the shape.
- Fasten off your yarn and weave in all the loose ends with your yarn needle.
If you’d like to add a hanging loop for your ornament:
- Cut a small piece of yarn (about 6 inches).
- Insert it through the top of one of the star points.
- Tie the ends together in a knot to create a loop.
Customize Your Star Ornament
Now that your star is complete, you can leave it as is, or add some fun embellishments to make it even more special! Here are a few ideas:
- Add beads or sequins: Attach beads or sequins to the tips of the star or around the center to give it a bit of sparkle.
- Use glitter yarn: Try using a yarn with metallic or glitter accents for a shimmering effect.
- Try different sizes: If you want a variety of stars on your tree, experiment with different yarn weights and hook sizes to create smaller or larger ornaments.
- Add a bow: Tie a small ribbon bow at the top of the star for a traditional holiday look.
Conclusion
Crocheting your own Christmas star ornaments is a fun and rewarding project that will make your tree look extra special. Once you’ve mastered the star pattern, you can make a set in various colors to decorate your home or give them as gifts to friends and family. These stars are not only festive but also a great way to use up any scrap yarn you may have lying around.
Stay tuned! I’ll be adding video tutorials soon to help you follow along step-by-step. Whether you’re a beginner or seasoned crochet enthusiast, these videos will make it easy to create beautiful handmade ornaments this holiday season.
Check out these videos for more ideas!
If you enjoy the videos mentioned in this post, we encourage you to visit the creators’ channels and give them a like. Your support helps them continue to produce high-quality content and share their creative ideas with the community. By liking and subscribing to their channels, you not only show your appreciation but also stay updated with their latest projects and tips.
Happy crocheting!
LIKE THIS POST?
Share the link on your social media