A Step-by-Step Guide
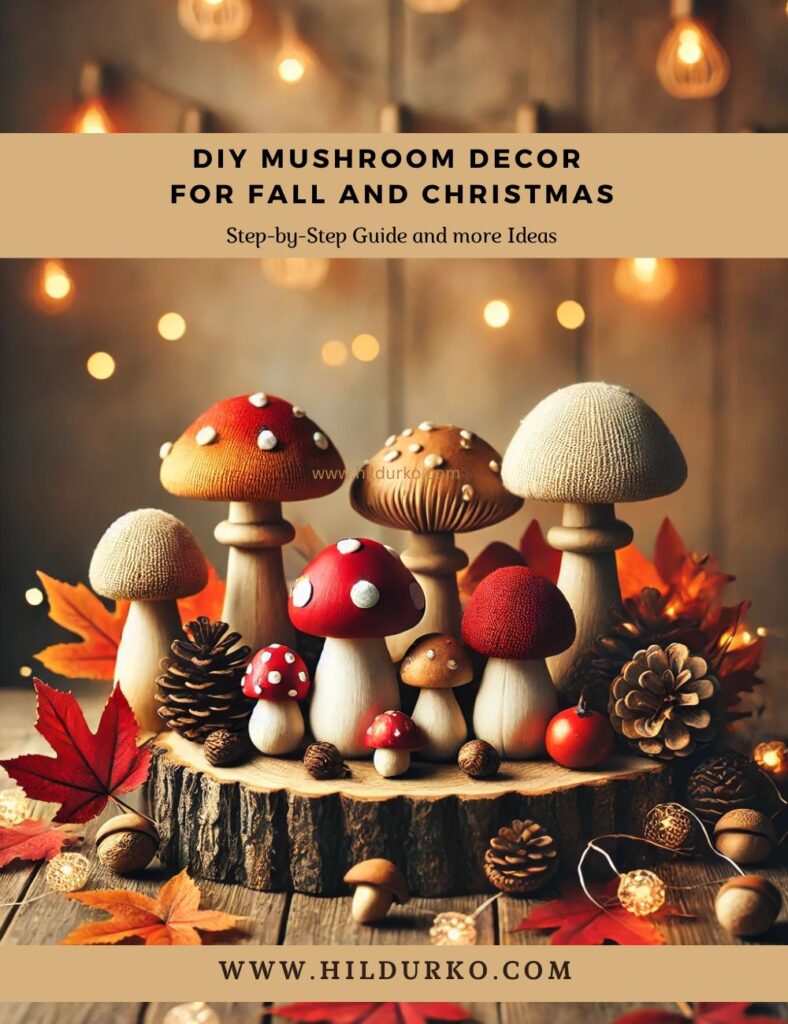
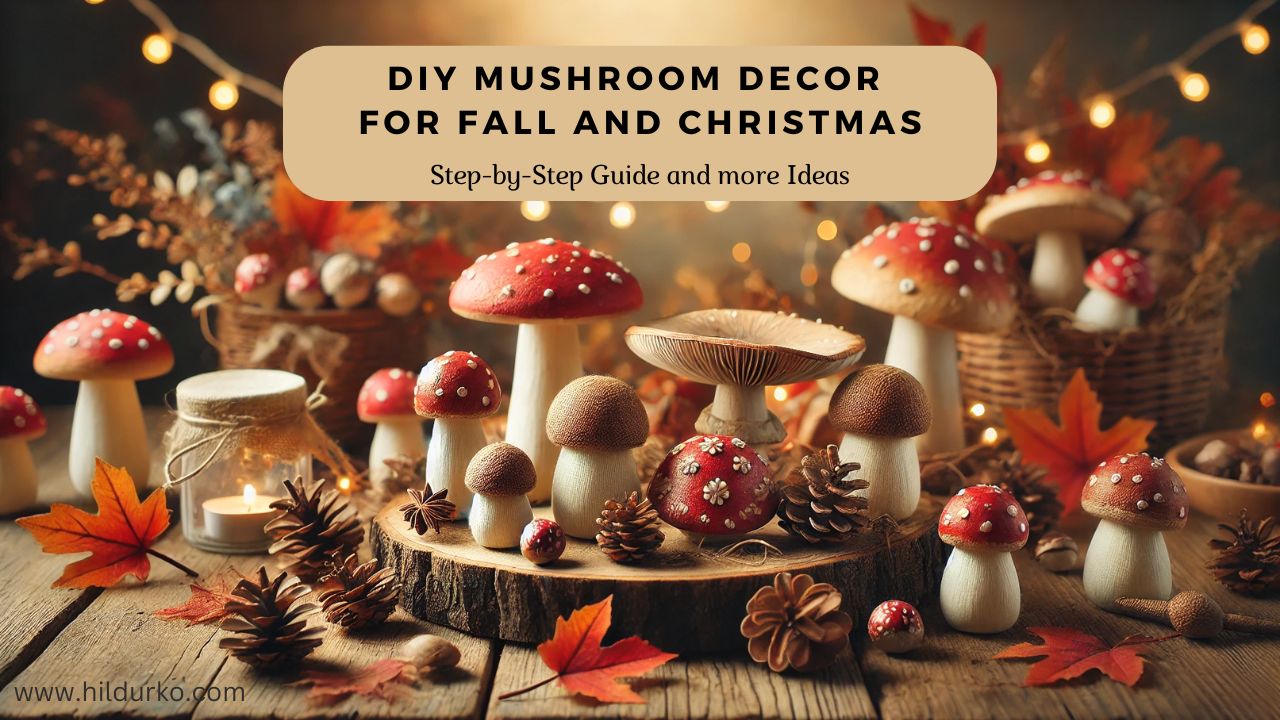
Mushroom decor has become increasingly popular in recent years, bringing a whimsical and natural element into homes. These charming decorations are perfect for both fall and Christmas, adding a touch of woodland magic to your seasonal decor. In this blog post, we’ll guide you through creating your own DIY mushroom decor that is easy to make and can be customized to fit any style. Plus, we’ll share some extra ideas to give your mushrooms an even more enchanting look.
Materials Needed:
- Air-dry clay or polymer clay
- Acrylic paints (in various colors)
- Small paintbrushes
- Toothpicks or small wooden sticks
- Sealant or varnish (optional)
- Hot glue gun and glue sticks
- Moss, twine, and small decorative elements (like acorns or pinecones)
- Small wooden discs or corks (for mushroom bases)
Step 1: Create the Mushroom Caps
Start by molding your mushroom caps from air-dry clay or polymer clay. Take a small amount of clay and roll it into a ball. Once you have a smooth ball, flatten it slightly to form a dome shape, resembling a mushroom cap. You can make the caps in various sizes to create a more natural and varied look. Use your fingers to shape the edges and add texture if desired.
If you want a more realistic mushroom appearance, use a toothpick to gently press into the clay, creating gill lines under the cap. This step adds a nice touch of detail to your mushrooms.
Step 2: Form the Mushroom Stems
Next, create the stems for your mushrooms using clay. Roll a small piece of clay into a cylinder shape, making sure one end is slightly thicker than the other. The thicker end will be attached to the mushroom cap, while the thinner end will be the base of the stem. Adjust the length of the stem based on how tall you want your mushrooms to be.
If you’re using air-dry clay, set the pieces aside to dry completely according to the package instructions. For polymer clay, you will need to bake your pieces in the oven to harden them. Follow the baking instructions provided with the clay.
Step 3: Paint the Mushroom Pieces
Once your mushroom pieces are dry or baked, it’s time to paint them. Use acrylic paints to add color and detail to your mushrooms. Traditional red and white spotted mushrooms are a popular choice, but feel free to get creative with your colors! For a fall look, consider painting your mushrooms in warm shades like orange, brown, and mustard yellow. For Christmas, you might opt for white, green, or even glittery colors to mimic a snowy woodland scene.
Use a fine brush to add small dots or lines to the mushroom caps, giving them a more textured and realistic appearance. Let the paint dry completely before moving on to the next step.
Step 4: Assemble the Mushrooms
To assemble your mushrooms, use a hot glue gun to attach the stems to the caps. Apply a small amount of glue to the top of the stem and press it firmly against the bottom of the cap. Hold it in place for a few seconds until the glue sets.
For added stability, especially if you’re making larger mushrooms, you can insert a toothpick or small wooden stick into the base of the stem before attaching it to the cap. This will provide extra support and help the mushroom stand upright.
Step 5: Create a Base for Your Mushrooms
To give your mushrooms a finished look, create a base for them using small wooden discs or corks. Attach the mushroom stems to the bases using hot glue. This not only makes your mushrooms more stable but also adds a natural, earthy element to the decor.
You can further decorate the base by gluing on moss, twine, small acorns, or pinecones around the mushroom stems. These elements enhance the woodland feel and make your mushrooms look like they’ve been plucked straight from a forest floor.
Step 6: Add Finishing Touches
For a final touch, consider sealing your mushrooms with a clear sealant or varnish. This step is optional but recommended if you want to protect the paint and give your mushrooms a glossy finish.
Once sealed, your mushrooms are ready to be displayed! Arrange them in a centerpiece, on a mantel, or as part of a larger holiday scene. They can also be used to embellish wreaths, garlands, or Christmas tree decorations.
Extra Ideas to Enhance Your DIY Mushroom Decor:
- Add Fairy Lights: Incorporate battery-operated fairy lights around your mushrooms to create a magical, glowing effect. This works especially well for Christmas decorations, adding a cozy and enchanting feel to your home.
- Use Different Materials: Experiment with different materials to create a variety of mushroom textures. For example, use felt or fabric to make soft, plush mushrooms that add a different tactile element to your decor.
- Create a Terrarium: Use a glass cloche or terrarium to display your mushrooms along with other woodland elements like moss, small branches, and tiny animal figurines. This creates a captivating miniature forest scene perfect for a coffee table or shelf.
- Snow-Dusted Effect: For a wintery look, apply a light dusting of faux snow or glitter to the tops of your mushrooms. This makes them look like they’ve been touched by a gentle snowfall, adding a festive and frosty element to your Christmas decor.
- Personalize with Initials: If you’re making these mushrooms as gifts, personalize them by painting the recipient’s initials or name on the mushroom caps. This adds a thoughtful and unique touch to your handmade decorations.
Conclusion:
Creating DIY mushroom decor is a fun and versatile project that brings a touch of nature and whimsy into your home. With just a few materials and a bit of creativity, you can craft mushrooms that fit perfectly with both fall and Christmas themes. Whether you keep them simple or add extra embellishments, these mushrooms are sure to be a delightful addition to your seasonal decorations. Happy crafting!
For more ideas:
If you enjoy the videos mentioned in this post, we encourage you to visit the creators’ channels and give them a like. Your support helps them continue to produce high-quality content and share their creative ideas with the community. By liking and subscribing to their channels, you not only show your appreciation but also stay updated with their latest DIY projects and holiday decoration tips.
LIKE THIS POST?
Share the link on your social media
or pin the image below to your Pinterest board!


