Creating a Magical Silhouette Christmas Village
The holiday season is a perfect time to transform your home into a winter wonderland. One of the most enchanting ways to decorate your windows is by creating a silhouette Christmas village. This DIY project is not only budget-friendly but also adds a personal touch to your holiday decor. In this blog post, we will guide you through the process of making your very own silhouette Christmas village, along with a few other DIY window decoration ideas to inspire you.
Why Choose Silhouette Christmas Villages?
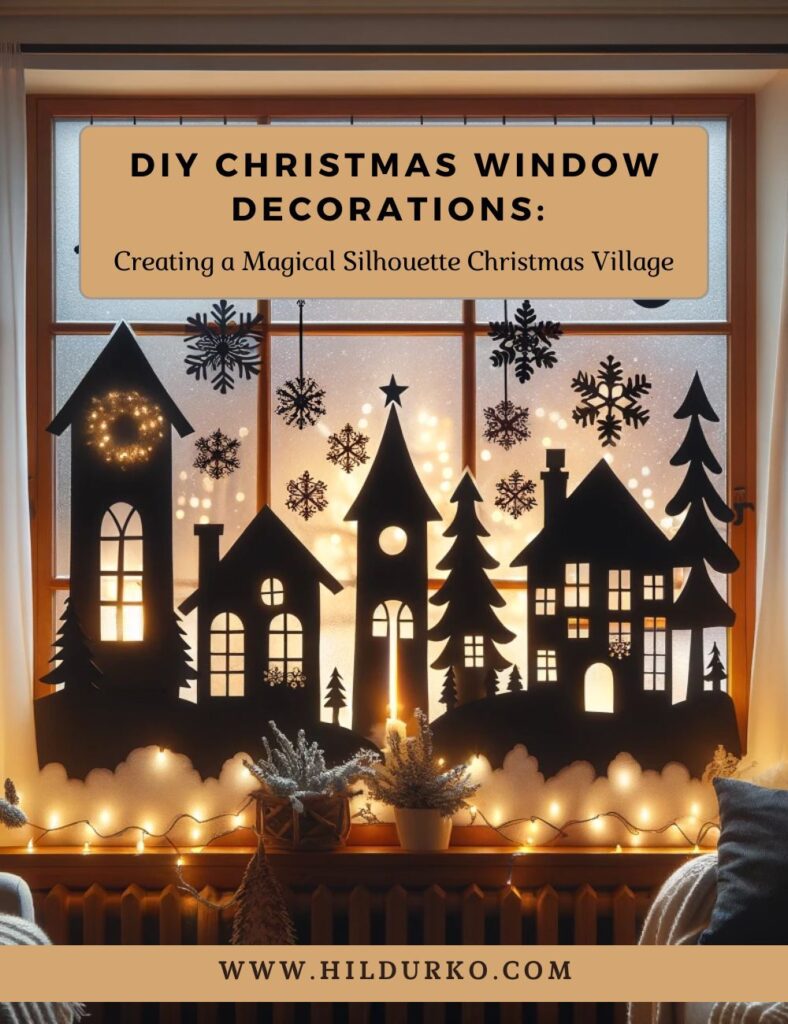
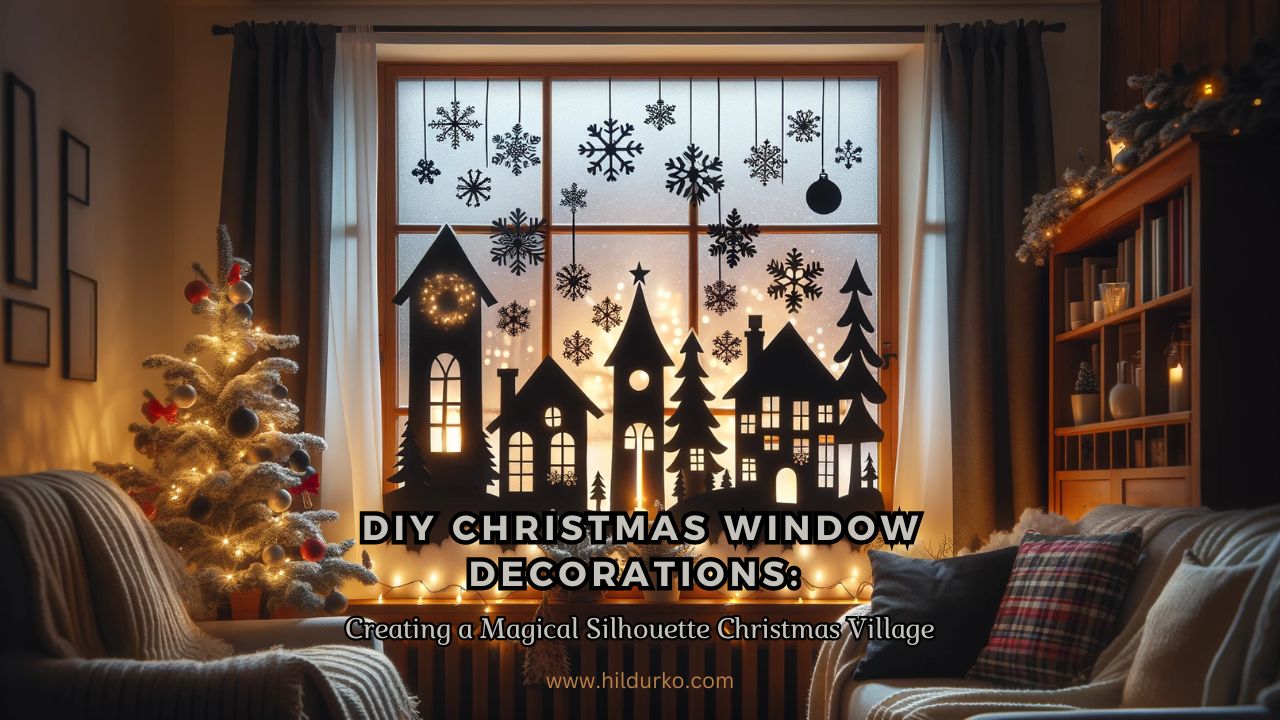
Silhouette Christmas villages are timeless and elegant. They create a magical ambiance, especially when illuminated by the soft glow of indoor lights. These decorations are versatile and can be customized to fit any window size or design preference. Additionally, crafting your silhouette village can be a fun and engaging activity for the whole family.
Materials Needed
Before you start, gather the following materials:
- Black cardstock or construction paper
- Scissors or a craft knife
- Cutting mat (if using a craft knife)
- Pencil and ruler
- White chalk or a white pencil (optional for drawing outlines)
- Transparent tape or double-sided tape
- String lights or LED candles (optional for added effect)
- Chalk pen (for an alternative decoration method)
If you need Silhouette Christmas Villages, there is a great source of them on Canva. Canva offers a wide range of templates and designs that you can easily customize and print for your DIY projects. Whether you’re looking for intricate village scenes or simple holiday silhouettes, Canva provides high-quality resources to make your Christmas window decorations truly special.
Step-by-Step Tutorial for Silhouette Christmas Village
Step 1: Design Your Village
Start by deciding on the elements you want in your silhouette village. Common features include houses with pointed rooftops, a church with a steeple, pine trees, and a snowman. You can find templates online or sketch your own designs. If you are not confident in your drawing skills, using stencils or printable templates can be a great help.
Step 2: Prepare Your Materials
Once you have your designs ready, transfer them onto the black cardstock using a pencil. If you are using templates, print them out, cut them, and trace around them on the cardstock. Make sure to leave enough space between each element for cutting.
Step 3: Cut Out the Silhouettes
Carefully cut out each element of your village using scissors or a craft knife. If using a craft knife, place the cardstock on a cutting mat to protect your work surface. Take your time with this step to ensure clean, precise edges.
Step 4: Arrange and Assemble
Arrange your silhouettes on a flat surface to plan the layout. Once you are satisfied with the arrangement, use transparent tape or double-sided tape to attach the pieces to your window. Start with the larger elements like houses and trees, then add smaller details like snowmen and lampposts.
Step 5: Add Lighting (Optional)
For an added touch of magic, place string lights or LED candles behind your silhouettes. The light will cast beautiful shadows, enhancing the silhouette effect. Be sure to secure any electrical components safely and away from flammable materials.
Additional DIY Christmas Window Decoration Ideas
While your silhouette Christmas village will undoubtedly be the star of your window display, here are a few more DIY ideas to complement your village:
1. Snowflakes
Cut out snowflakes from white paper and scatter them around your silhouette village. You can create a variety of designs by folding paper and cutting different shapes along the edges. Tape them to the window using transparent tape.
2. Window Clings
Create your own window clings using puffy paint or window cling material. Draw holiday-themed shapes like stars, ornaments, and reindeer on a plastic sheet, let them dry, then peel them off and stick them to your window.
3. Garland
Make a festive garland using paper, felt, or fabric. String together shapes like stars, trees, or bells and drape the garland across the top of your window. You can also add a string of lights for extra sparkle.
4. Frosted Window Effect
Give your windows a frosty look using Epsom salt and water. Mix equal parts of Epsom salt and warm water, then sponge the mixture onto your windows. As it dries, it will create a crystalline frost effect that complements your silhouette village beautifully.
5. Chalk Pen Drawings
Using a chalk pen to draw directly on your windows is another creative and easy way to add festive decorations. Here’s how you can do it:
Materials Needed:
- Chalk pens (white or colored)
- Cleaning cloth
- Window cleaner
Steps:
- Clean the Window: Ensure your window is clean and free of dust or grease. Use a window cleaner and a cloth to wipe it down thoroughly.
- Design Your Scene: Decide on the scene you want to draw. This could be a Christmas village, snowflakes, reindeer, or even a simple “Merry Christmas” message.
- Draw Your Scene: Using the chalk pen, start drawing your scene on the window. You can use stencils for more complex shapes or freehand for a more personal touch. Chalk pens are easy to use and can be wiped off and redrawn if you make a mistake.
- Layer Your Design: For a more dynamic look, layer different elements. Start with larger shapes like houses and trees, then add smaller details like windows, doors, and decorations.
- Illuminate: If you want your drawings to stand out at night, place string lights around the window frame. The lights will highlight your chalk pen designs and make them visible from outside.
Conclusion
Creating a silhouette Christmas village for your windows is a wonderful way to usher in the holiday spirit. Not only does it add a cozy and festive charm to your home, but it also offers a great opportunity for a fun DIY project. Whether you stick with the classic black silhouettes, add chalk pen drawings, or explore other creative decorations, your windows are sure to impress. Gather your materials, follow these simple steps, and let your creativity shine this holiday season.
Happy decorating!
If you enjoy the videos mentioned in this post, we encourage you to visit the creators’ channels and give them a like. Your support helps them continue to produce high-quality content and share their creative ideas with the community. By liking and subscribing to their channels, you not only show your appreciation but also stay updated with their latest DIY projects and holiday decoration tips.
LIKE THIS POST?
Share the link on your social media
or pin the image below to your Pinterest board!