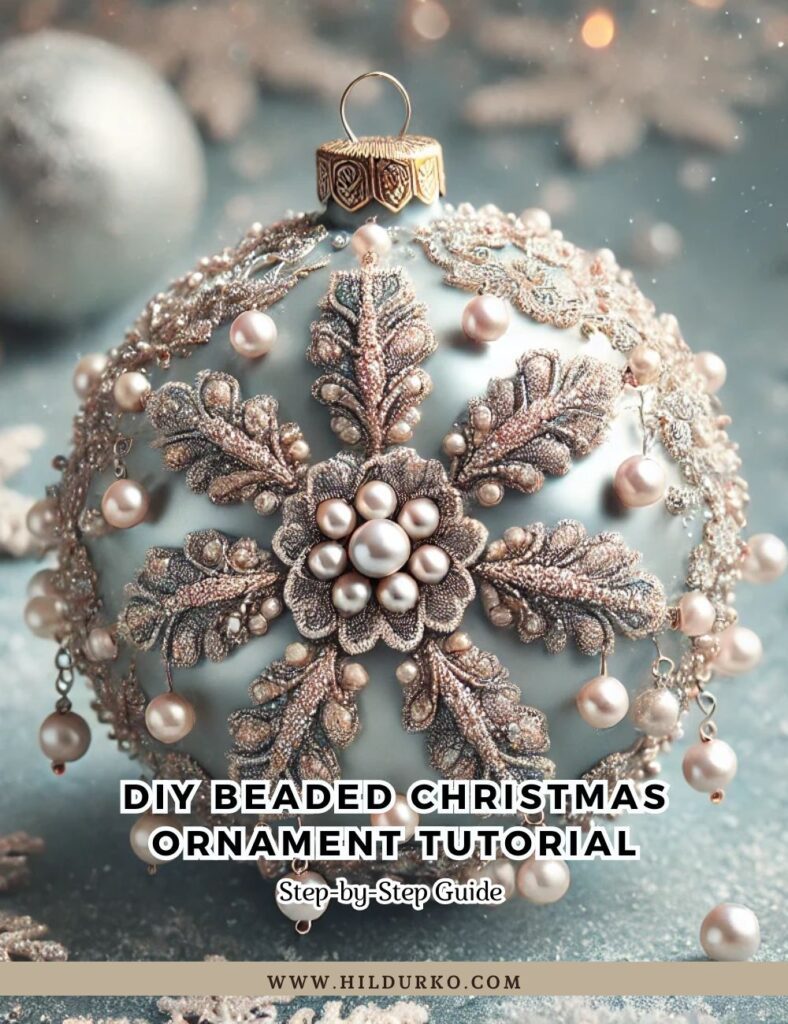
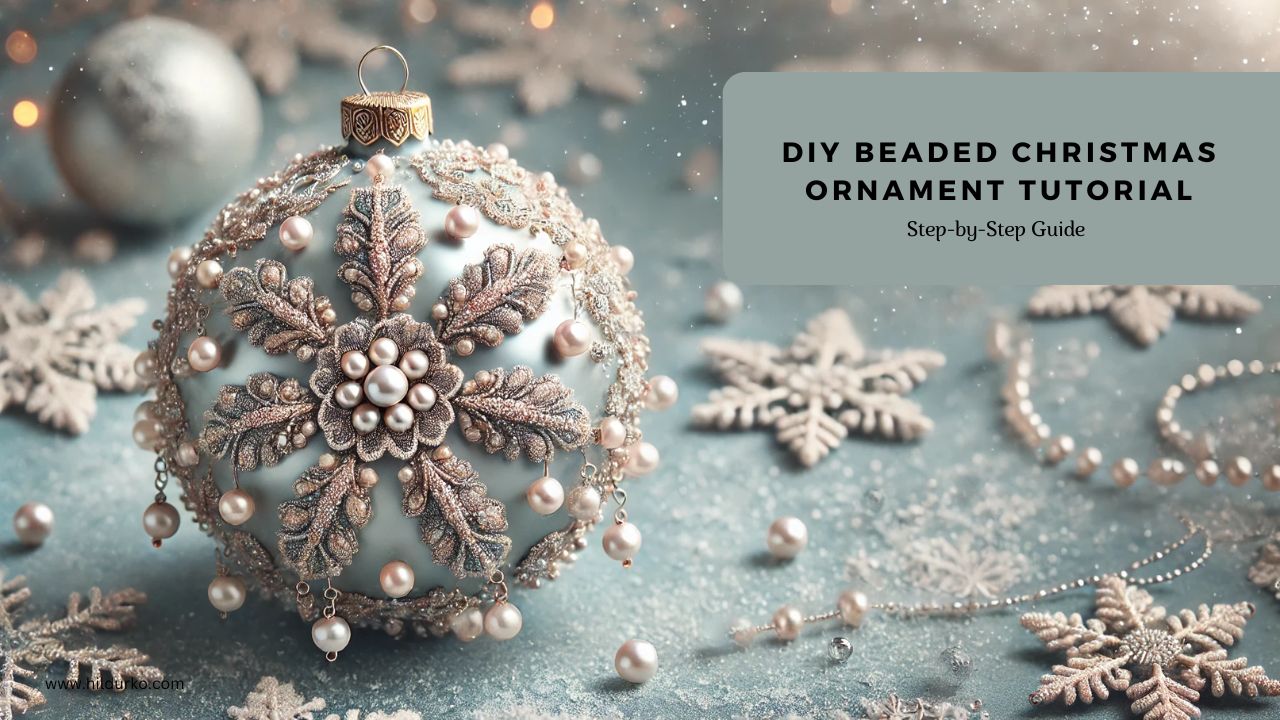
The holiday season is a time for creativity and making your home shine with festive decor. One stunning way to elevate your tree is by adding beaded embellishments to your Christmas ornaments. In this tutorial, I’ll walk you through how to create an elegant beaded design around a Christmas ornament, much like the delicate snowflake pattern featured in the image. Let’s get started!
Materials You’ll Need:
- A plain Christmas ball ornament (glass or plastic)
- Seed beads (size 11/0) in white, silver, or clear for a frosty effect
- Crystal beads (round or bicone) for extra sparkle
- Beading thread or thin wire (fishing line or nylon thread also works)
- Beading needle (if using thread)
- Scissors or wire cutters
- Small snowflake charms or bead caps (optional for embellishments)
Step-by-Step Instructions:
Step 1: Preparing Your Ornament
Start by selecting a Christmas ball ornament. A soft metallic or pastel-colored ball, like silver, light blue, or white, will make the beads pop against its background. Ensure the ornament’s surface is clean and dry before you begin.
Step 2: Designing the Beaded Frame
The first step in your beaded decoration is creating a loop to attach the beads to the top of the ornament. Measure a piece of wire or thread about 12–15 inches long. You’ll need enough length to create multiple hanging bead strands.
Thread your needle or wire and create a small circle by stringing 10–12 seed beads. Knot the ends securely to form a ring around the ornament’s hanging hook. This loop is the base that will support your decorative beaded drapes.
Step 3: Making Beaded Strands
Now that you’ve created the loop, it’s time to add the dangling strands. To do this, cut pieces of thread or wire to various lengths, depending on how long you want the strands to hang.
- For shorter strands: Use about 3–4 inches of thread/wire.
- For longer strands: Use 6–8 inches of thread/wire.
Thread a combination of seed beads and crystal beads onto each strand. You can alternate between sizes and colors to create variety. If you’re incorporating snowflake charms or bead caps, place them midway down the strand or at the very end for an extra decorative touch.
Step 4: Attaching the Strands
Once your strands are ready, attach them to the beaded ring at the top of your ornament. You can do this by threading the ends through the loop you made earlier and knotting or twisting them securely in place.
Space the strands evenly around the ornament to create a balanced design. Aim to have about 6–8 strands hanging around the ball. The different lengths will give your ornament a cascading, snowflake-inspired look.
Step 5: Creating the Snowflake Accent
For the intricate snowflake design seen in the image, you can either create beaded snowflakes yourself or purchase small snowflake charms from a craft store. To make a snowflake from beads, use wire or stiff thread and arrange the beads in a symmetrical snowflake shape.
To make a simple beaded snowflake:
- Cut a small piece of wire and string a central bead.
- Create six branches by stringing small seed beads and ending each branch with a slightly larger bead.
- Twist the wire at each connection point to hold the shape.
Once you’ve made or purchased your snowflake accents, attach them to the top of the ornament or incorporate them into the beaded strands.
Step 6: Final Touches
When all the strands are attached and the beaded snowflakes are in place, give the ornament a gentle shake to ensure everything is secure. If any beads or strands are loose, re-knot or tighten the wire.
Lastly, use scissors or wire cutters to trim any excess thread or wire.
Step 7: Hang and Enjoy!
Your elegant beaded Christmas ornament is now ready to hang! Whether you’re decorating your tree, gifting it to a loved one, or adding it to your holiday décor, this handcrafted ornament is sure to sparkle and impress.
Tips for Customization:
- Color Variations: Experiment with different bead colors to match your holiday theme. Red and gold beads will give a classic Christmas look, while silver and blue create a wintry feel.
- Pattern Variety: Try alternating different lengths and designs for each strand to create a more dynamic, layered look.
- Additional Embellishments: Consider adding ribbons, glitter, or mini bells to make your ornament even more festive.
Making your own beaded Christmas ornaments is a rewarding and creative project. Not only do they add a handmade touch to your tree, but they also make for beautiful, personal gifts.
Check out these videos for more ideas!
If you enjoy the videos mentioned in this post, we encourage you to visit the creators’ channels and give them a like. Your support helps them continue to produce high-quality content and share their creative ideas with the community. By liking and subscribing to their channels, you not only show your appreciation but also stay updated with their latest projects and tips.
Happy Crafting!
LIKE THIS POST?
Share the link on your social media


