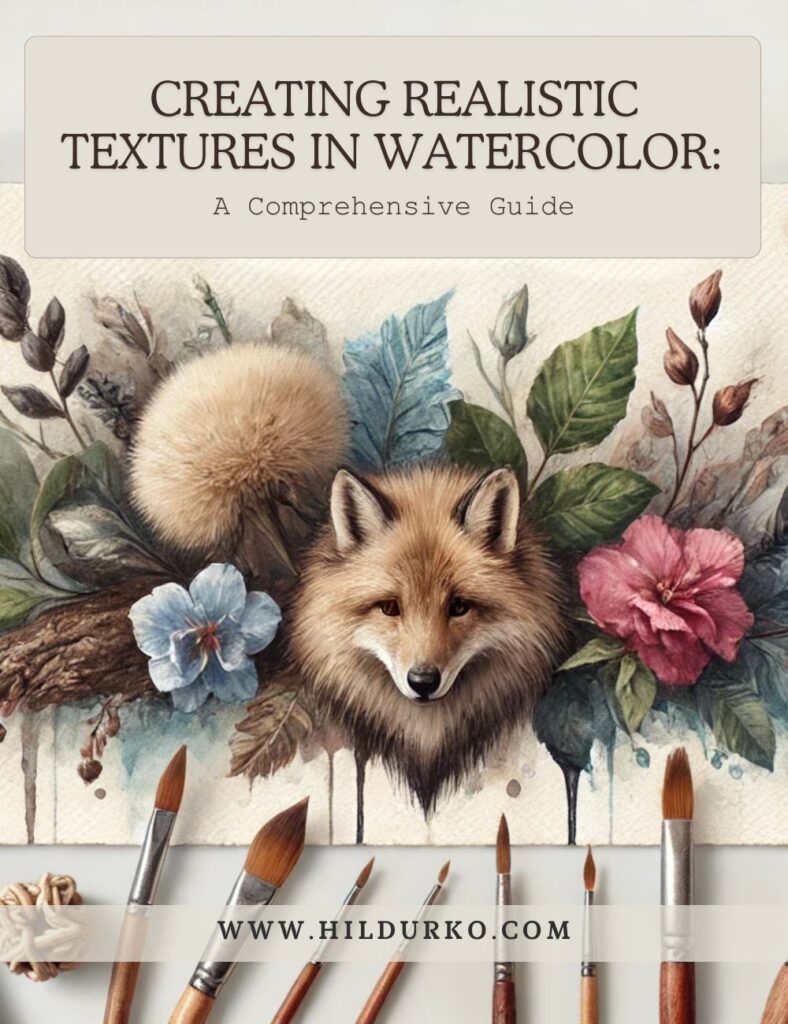
Watercolor painting is a delicate and expressive medium that can produce stunning, realistic textures. Whether you’re looking to capture the softness of fur, the ruggedness of tree bark, or the intricate details of human skin, mastering realistic textures in watercolor requires practice and a keen understanding of techniques. This comprehensive guide will walk you through essential methods and tips to elevate your watercolor textures.
Understanding Watercolor Basics
Before diving into specific techniques, it’s important to understand the basics of watercolor painting. Watercolors are known for their transparency and fluidity, which can be both a blessing and a challenge when aiming for realism. The key lies in controlling water and pigment to achieve the desired effect.
Essential Tools and Materials
To create realistic textures, you’ll need the following tools and materials:
- High-quality watercolor paints: Choose professional-grade paints for richer colors and better blending.
- Watercolor brushes: Use a variety of brushes, including fine detail brushes, flat brushes, and round brushes, to achieve different textures.
- Watercolor paper: Opt for cold-pressed or rough paper, which has more texture and can hold more layers of paint.
- Masking fluid: Useful for preserving white spaces and adding fine details.
- Sponges, salt, and plastic wrap: These unconventional tools can create unique textures when applied to wet paint.
Techniques for Creating Realistic Textures
- Dry Brush Technique
The dry brush technique involves using a relatively dry brush with minimal water to apply paint. This technique is excellent for creating rough, textured surfaces like tree bark, hair, and fur.
- Load your brush with pigment but remove excess water by dabbing it on a paper towel.
- Lightly drag the brush across the paper’s surface, allowing the paper’s texture to create a rough, broken line.
- Wet-on-Wet Technique
This technique involves applying wet paint onto a wet surface, allowing colors to blend and bleed into each other naturally. It’s ideal for creating soft, blurry textures like clouds, mist, or the initial layers of skin tones.
- Wet the paper with clean water where you want the texture to appear.
- Drop in wet paint and let it spread naturally, manipulating it with a brush if necessary.
- Lifting
Lifting is the process of removing paint from the paper to create highlights and lighter areas. It’s particularly useful for creating realistic textures in hair, fur, and reflective surfaces.
- Apply a wash of color and let it partially dry.
- Use a clean, damp brush or a piece of tissue to lift the paint, creating highlights and textures.
- Salt Texture
Salt can create beautiful, organic textures that resemble frost, sand, or other granular surfaces.
- While the paint is still wet, sprinkle salt over the area.
- Let it dry completely before brushing off the salt to reveal a textured effect.
- Using Masking Fluid
Masking fluid preserves white spaces or lighter areas, allowing you to paint over them without losing detail. It’s perfect for creating fine lines and intricate details, such as veins in leaves or highlights in fur.
- Apply masking fluid with a fine brush or a ruling pen to the areas you want to remain white.
- Let it dry completely before painting over it. Once the paint is dry, gently rub off the masking fluid.
- Sponging
Using a natural sponge can add texture to areas like foliage, rough surfaces, and textured backgrounds.
- Dip a damp sponge into the paint and dab it onto the paper to create a textured pattern.
- Layer different colors for added depth and complexity.
Practice and Patience
Creating realistic textures in watercolor is a skill that requires practice and patience. Start with simple textures and gradually move to more complex ones. Observe real-life textures and try to replicate them in your practice sessions.
Conclusion
Mastering realistic textures in watercolor can greatly enhance the depth and realism of your paintings. By experimenting with different techniques such as dry brush, wet-on-wet, lifting, salt texture, masking fluid, and sponging, you can create intricate and lifelike textures that bring your artwork to life. Remember, practice and patience are key to honing these techniques, so keep experimenting and refining your skills.
For more detailed tutorials and examples, check out resources like Artists Network and Watercolor Painting. Happy painting!
For demonstrations on how to create realistic textures in watercolor:
Watercolor Textures (10 Ways to Paint Realistic Texture)
by Wildlife in Watercolour
This video covers ten different techniques to create realistic textures in watercolor, offering tips, tricks, and detailed demonstrations.
For more from
- INSTAGRAM:
 the_devon_artist
 - FACEBOOK:
 the_devon_artist
 - Website: https://www.devonartist.co.uk
Watercolor textures and techniques for beginners | learn simple tricks of watercolor by Art Adventures with Priyanka
- In this tutorial you will learn 8 watercolor techniques. If you are a beginner, this video is for you! It can get you started in your watercolor painting journey.
For more from
- Instagram:
 / artadventureswithpriyanka
LIKE THIS POST?
Share the link on your social media
or pin the image below to your Pinterest board!
