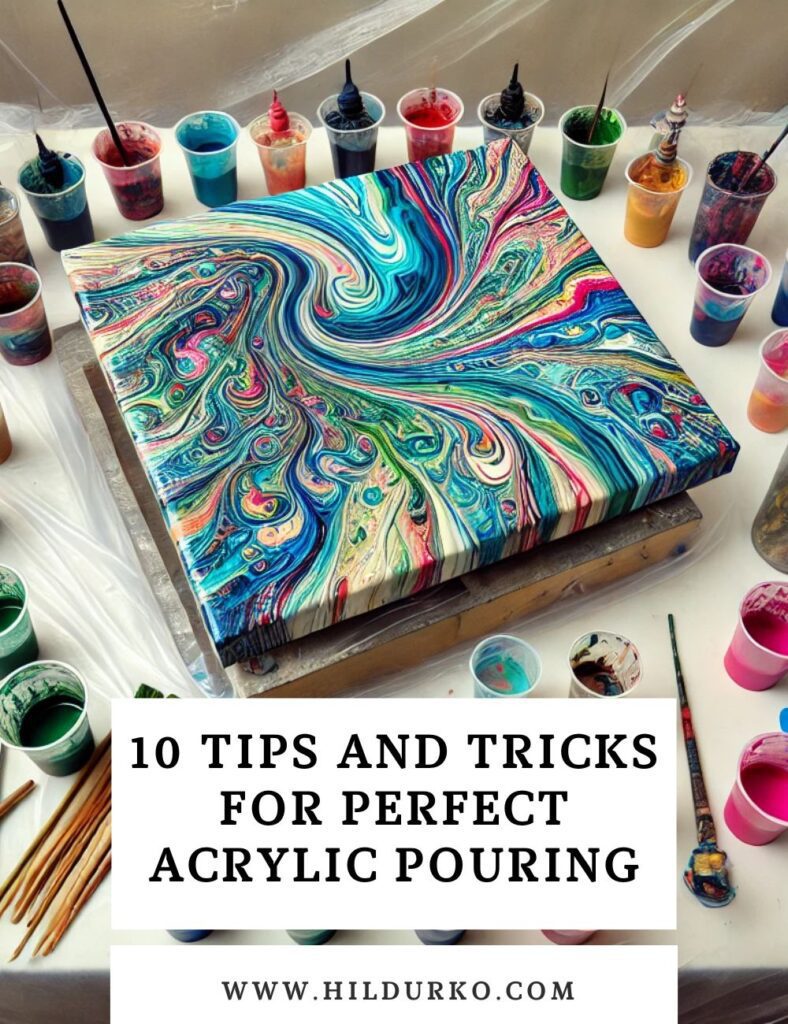
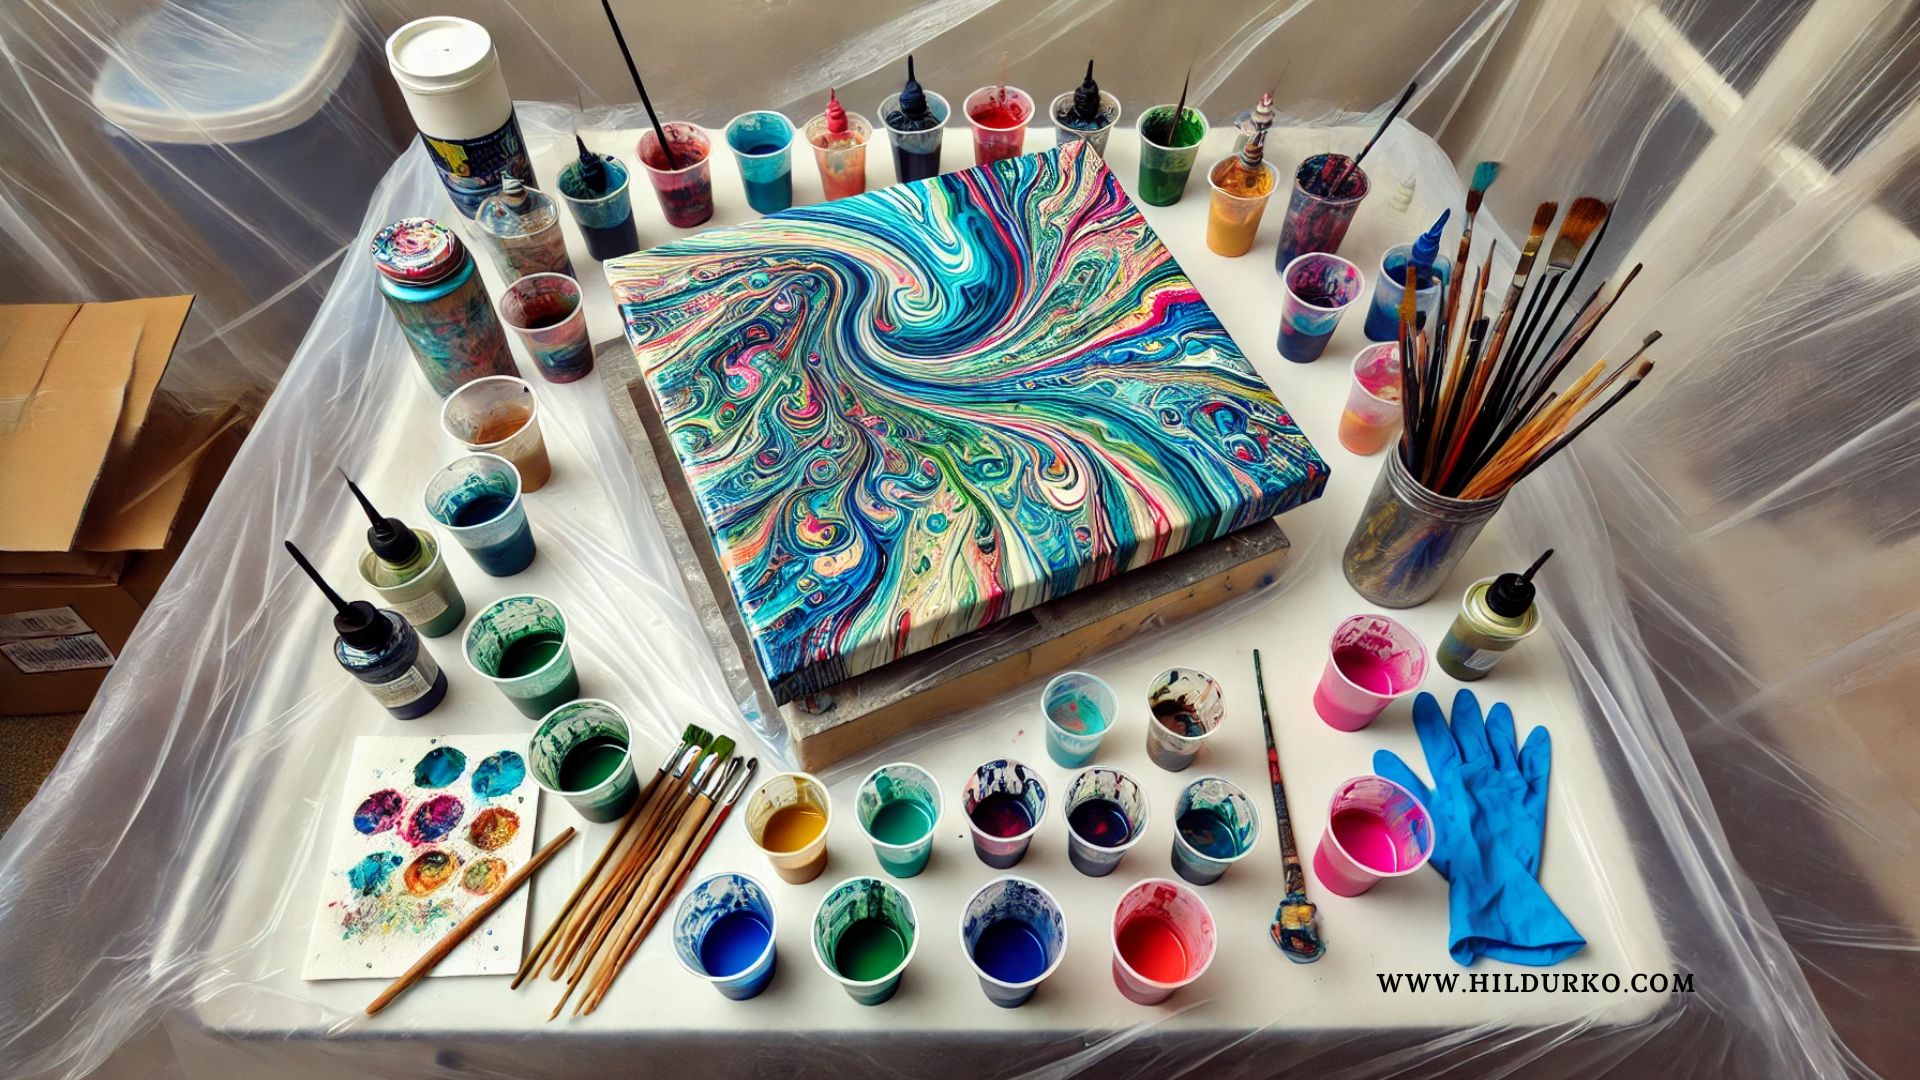
Acrylic pouring is an exciting and dynamic art form that has captured the interest of many artists, from beginners to seasoned professionals. The fluid, abstract designs created by this technique are unique and mesmerizing. However, achieving the perfect pour requires some knowledge and practice. Here are ten tips and tricks to help you master acrylic pouring and create stunning pieces every time.
1. Choose the Right Paint
The type of paint you use can significantly impact the outcome of your acrylic pour. While you can use various types of acrylic paints, professional-grade paints typically offer better pigment quality and consistency. Craft paints can also work well, especially if you’re just starting out. Ensure that all your paints are fluid enough to pour smoothly. If they’re too thick, you can thin them with water or a pouring medium.
2. Use a Quality Pouring Medium
A pouring medium is essential for achieving the right consistency and flow in your paint. It helps to thin the paint without compromising its adhesive properties or vibrancy. Popular choices include Floetrol, Liquitex Pouring Medium, and even Elmer’s Glue mixed with water. Experiment with different mediums to find the one that works best for your style and budget.
3. Get Your Consistency Right
The consistency of your paint mixture is crucial for a successful pour. Aim for a consistency similar to warm honey or melted ice cream. If the mixture is too thick, it won’t flow properly; if it’s too thin, the colors may blend too much and lose their vibrancy. Adjust the consistency by adding more pouring medium or water, as needed.
4. Prepare Your Workspace
Acrylic pouring can be messy, so it’s essential to prepare your workspace properly. Cover your working area with plastic sheeting or old newspapers to catch drips. Elevate your canvas using plastic cups or push pins to allow the excess paint to drip off the edges. Having a well-organized and protected workspace will make the process smoother and cleanup easier.
5. Use Silicone Oil for Cells
Creating cells in your pour adds an interesting and dynamic element to your artwork. Silicone oil is a popular additive used to create these cells. Just a few drops in your paint mixture can cause fascinating, cell-like patterns to form as the paint settles. You can add silicone oil to one or several colors, depending on the effect you want to achieve.
6. Layer Your Paints Strategically
The way you layer your paints in the cup can greatly affect the final outcome. Pour your colors into the cup in layers, starting with the heaviest colors at the bottom. This helps to control the way the colors flow and mix during the pour. Experiment with different layering techniques, such as the “dirty pour,” where all colors are mixed together in one cup, or the “flip cup” technique for different effects.
7. Tilt and Manipulate the Canvas
Once you’ve poured your paint onto the canvas, you can tilt and rotate the canvas to control the flow and spread of the paint. This step is crucial for creating interesting patterns and ensuring that the entire canvas is covered. Move the canvas slowly and deliberately, watching how the paint moves and reacts.
8. Experiment with Different Tools
While tilting the canvas is the most common way to manipulate the paint, you can also use various tools to create different effects. Blow dryers, straws, palette knives, and even your hands can be used to move the paint around and create unique textures and patterns. Don’t be afraid to experiment and see what works best for you.
9. Allow Adequate Drying Time
Patience is key when it comes to acrylic pouring. After completing your pour, let your painting dry flat for at least 24 hours. Depending on the thickness of the paint and the environmental conditions, it might take up to 72 hours for the painting to dry completely. Avoid moving or touching the canvas during this time to prevent any smudging or distortion.
10. Seal and Protect Your Finished Piece
Once your painting is completely dry, it’s essential to seal it to protect it from dust, UV rays, and other environmental factors. Use a clear acrylic spray or varnish to give your painting a glossy finish and enhance the colors. Apply several thin coats, allowing each coat to dry thoroughly before applying the next.
Conclusion
Acrylic pouring is a versatile and accessible art form that allows for endless creativity and experimentation. By following these tips and tricks, you can improve your technique and create beautiful, professional-looking pours. Remember, practice makes perfect, so keep experimenting with different colors, mediums, and techniques until you find your unique style. Happy pouring!
These tips should help you on your journey to mastering acrylic pouring and creating stunning abstract artworks that are sure to impress. Enjoy the process and let your creativity flow!
LIKE THIS POST?
Share the link on your social media
or pin the image below to your Pinterest board!


